After endless hours of house searching, we finally were under contract! I wrote a little bit about all our previous moves and why as a first-year medical student my husband and I decided to purchase rather than rent a home on my very first blog post A Happy Life of Endless Transitions. Its been two years into home ownership, we are almost done with our renovations, restorations, and remodeling. Let’s be real, we will never be done, but we are certainly at a place where it feels like our home and I’m not constantly walking around noticing all the quirks that need fixing. From a financial standpoint, we would have not been able to afford half of what has been restored or renovated had we not been hit by a microburst six months after moving into our home. There are perks to having hail the size of a baseball hit your home. Here’s to a light-hearted post of the journey of renovating our first home.

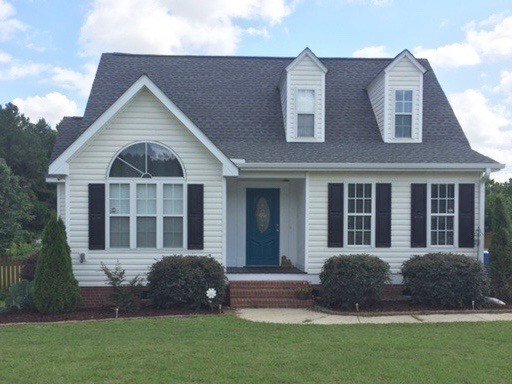
Our cute, cream, cape cod house on the corner was pretty well maintained for a 20-year-old home. But there was just one little glitch with the inside…
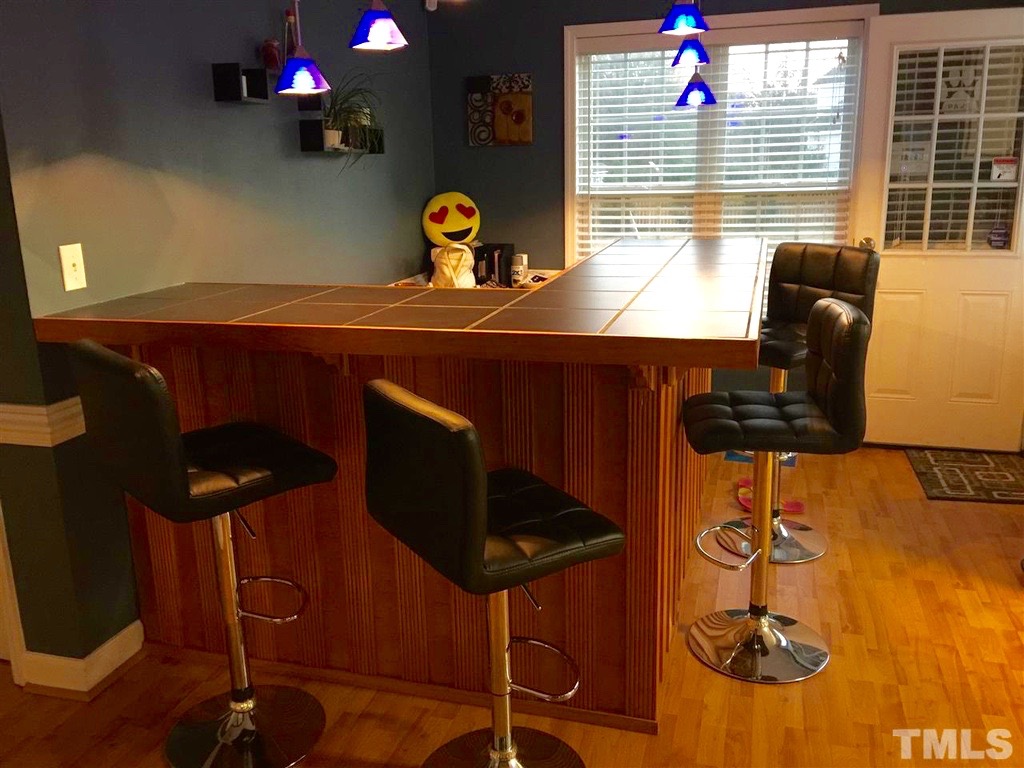
A custom build BAR!… with track lighting! This might not have been so bad in a man cave or bonus room, but our house is around 1500 sq. ft. A bar isn’t exactly what a young couple about to have a baby wants in their only dining area. Trying to save us a little $, I listed the bar on Craigslist and got a few hits only to find out as we were trying to move it that it was screwed together with over 100 screws all the way to the floor. So rather than making a few dollars, we realized we were going to need to replace the entire first-floor lament. New flooring was entirely fine for Tom because the laminate was buckling in some places and went horizontal in some rooms and vertical in others. A dizzy spell came on if you looked down.
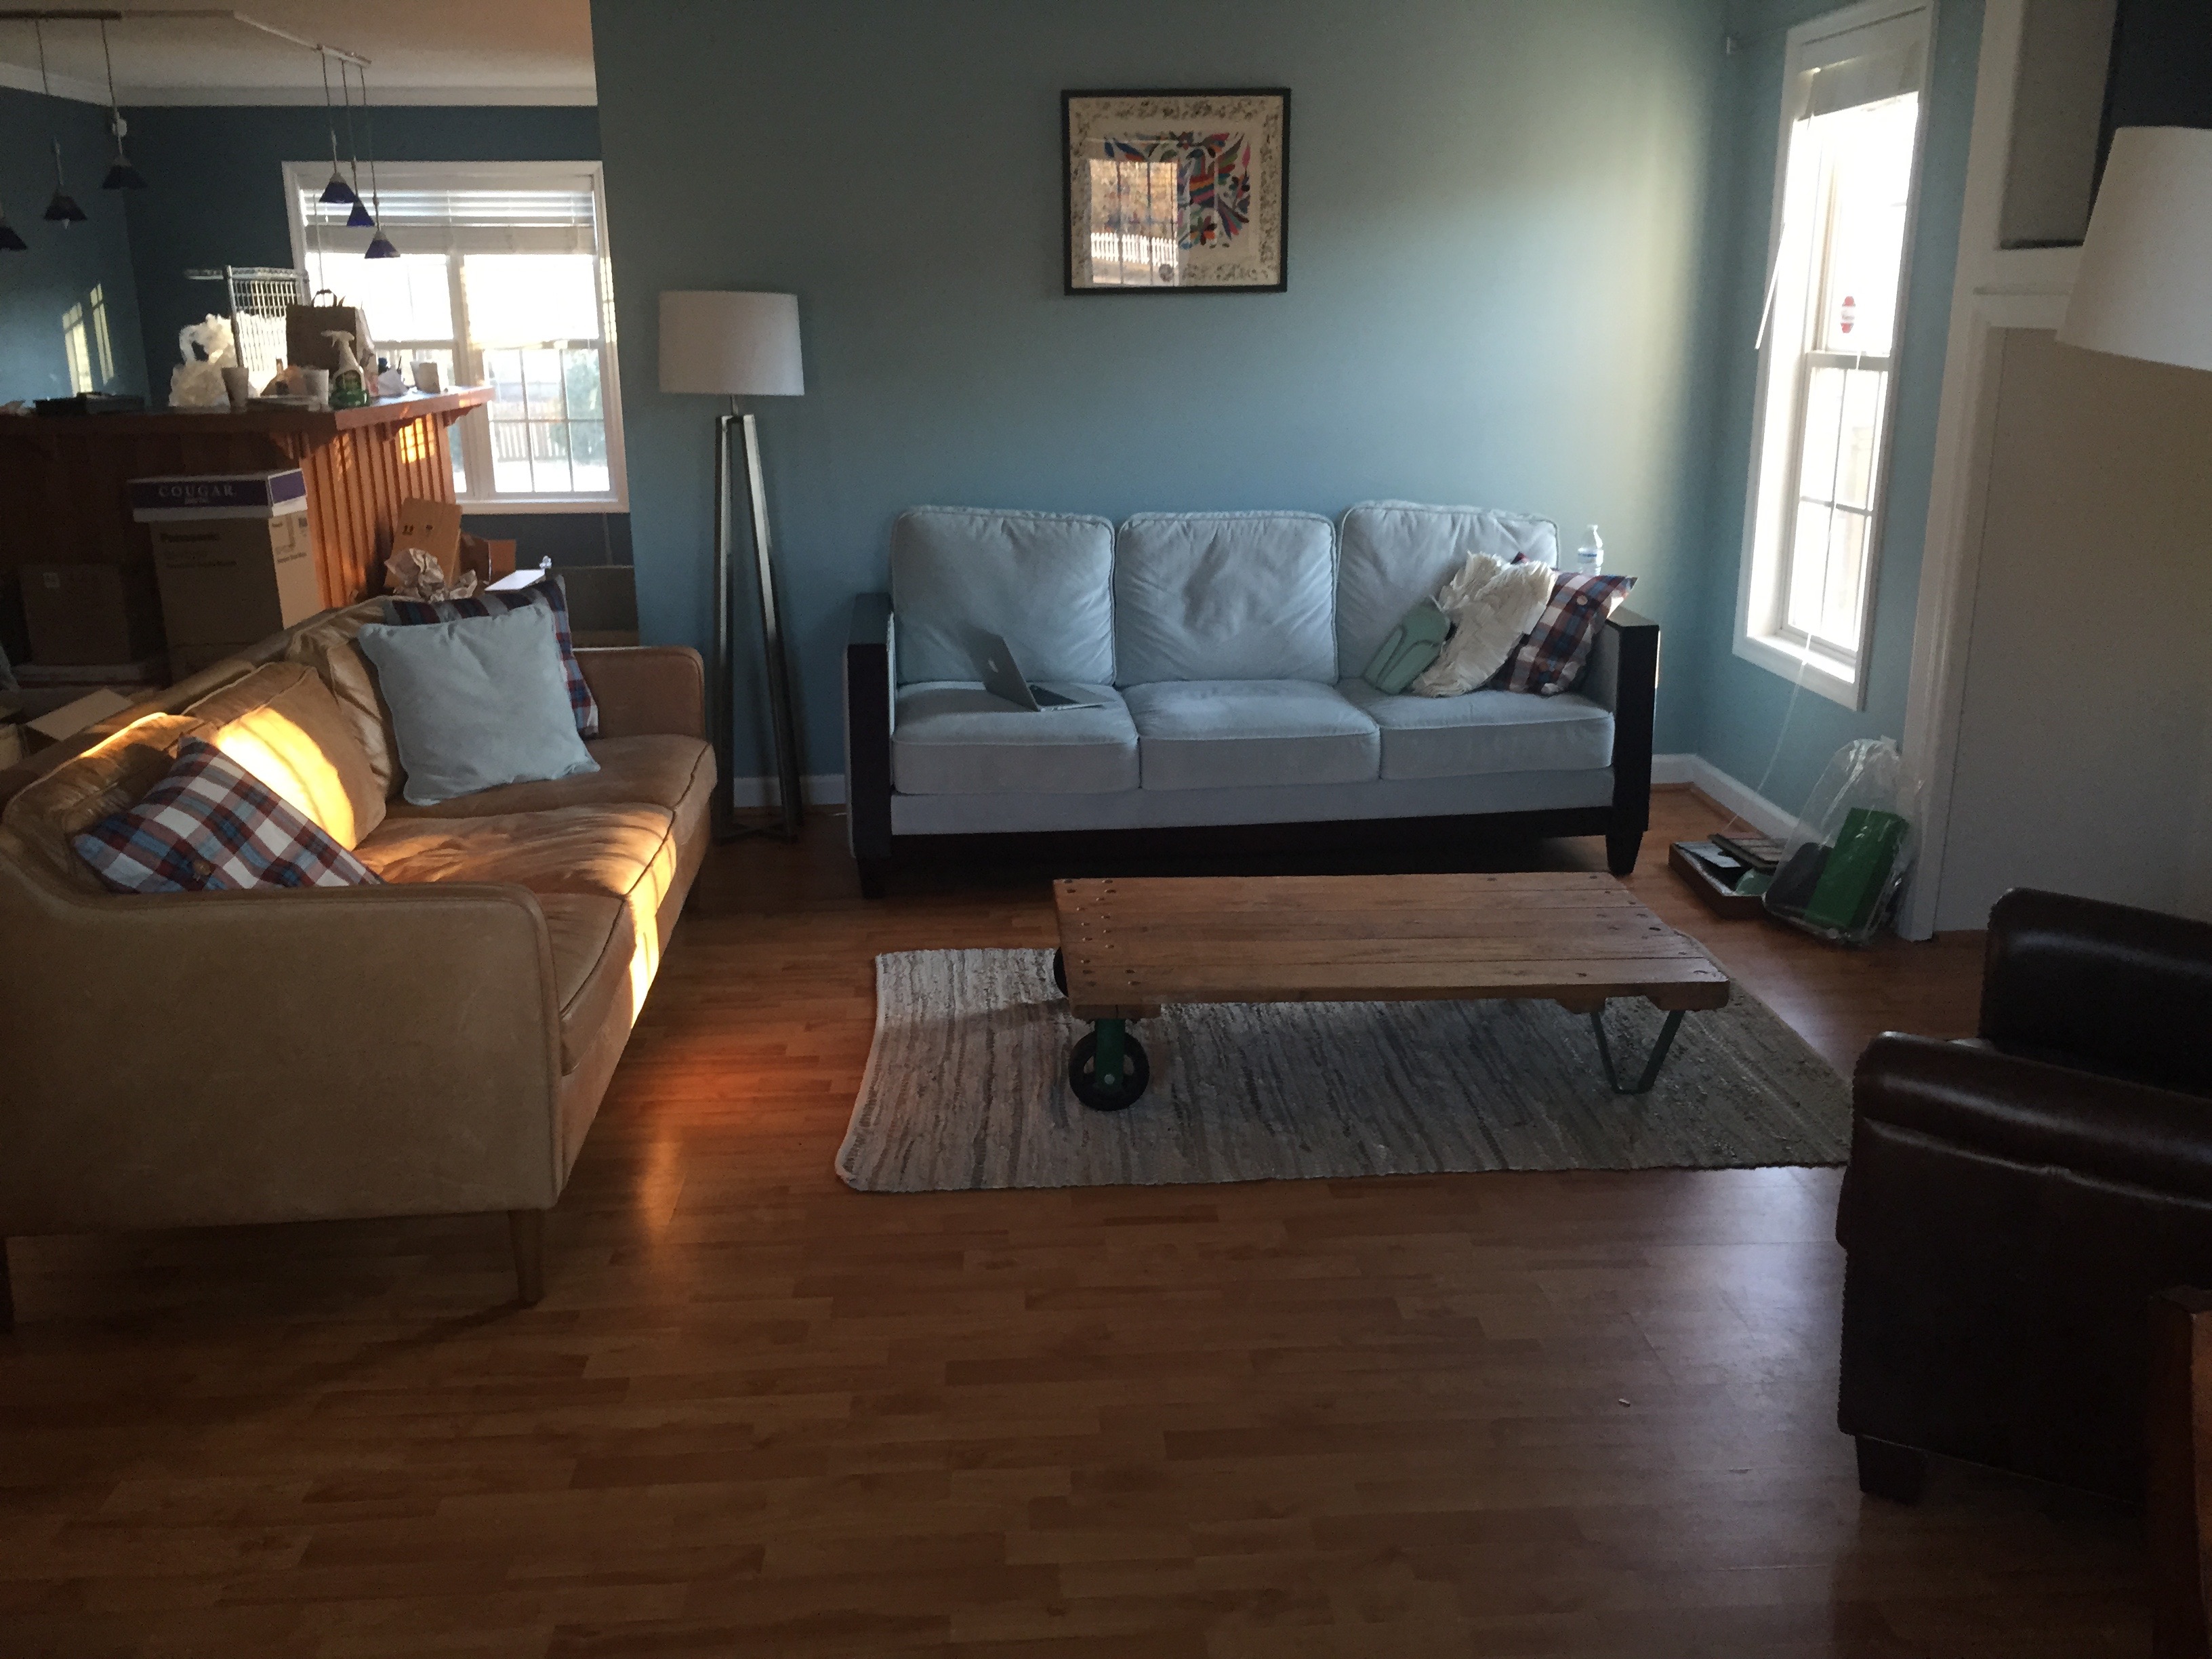
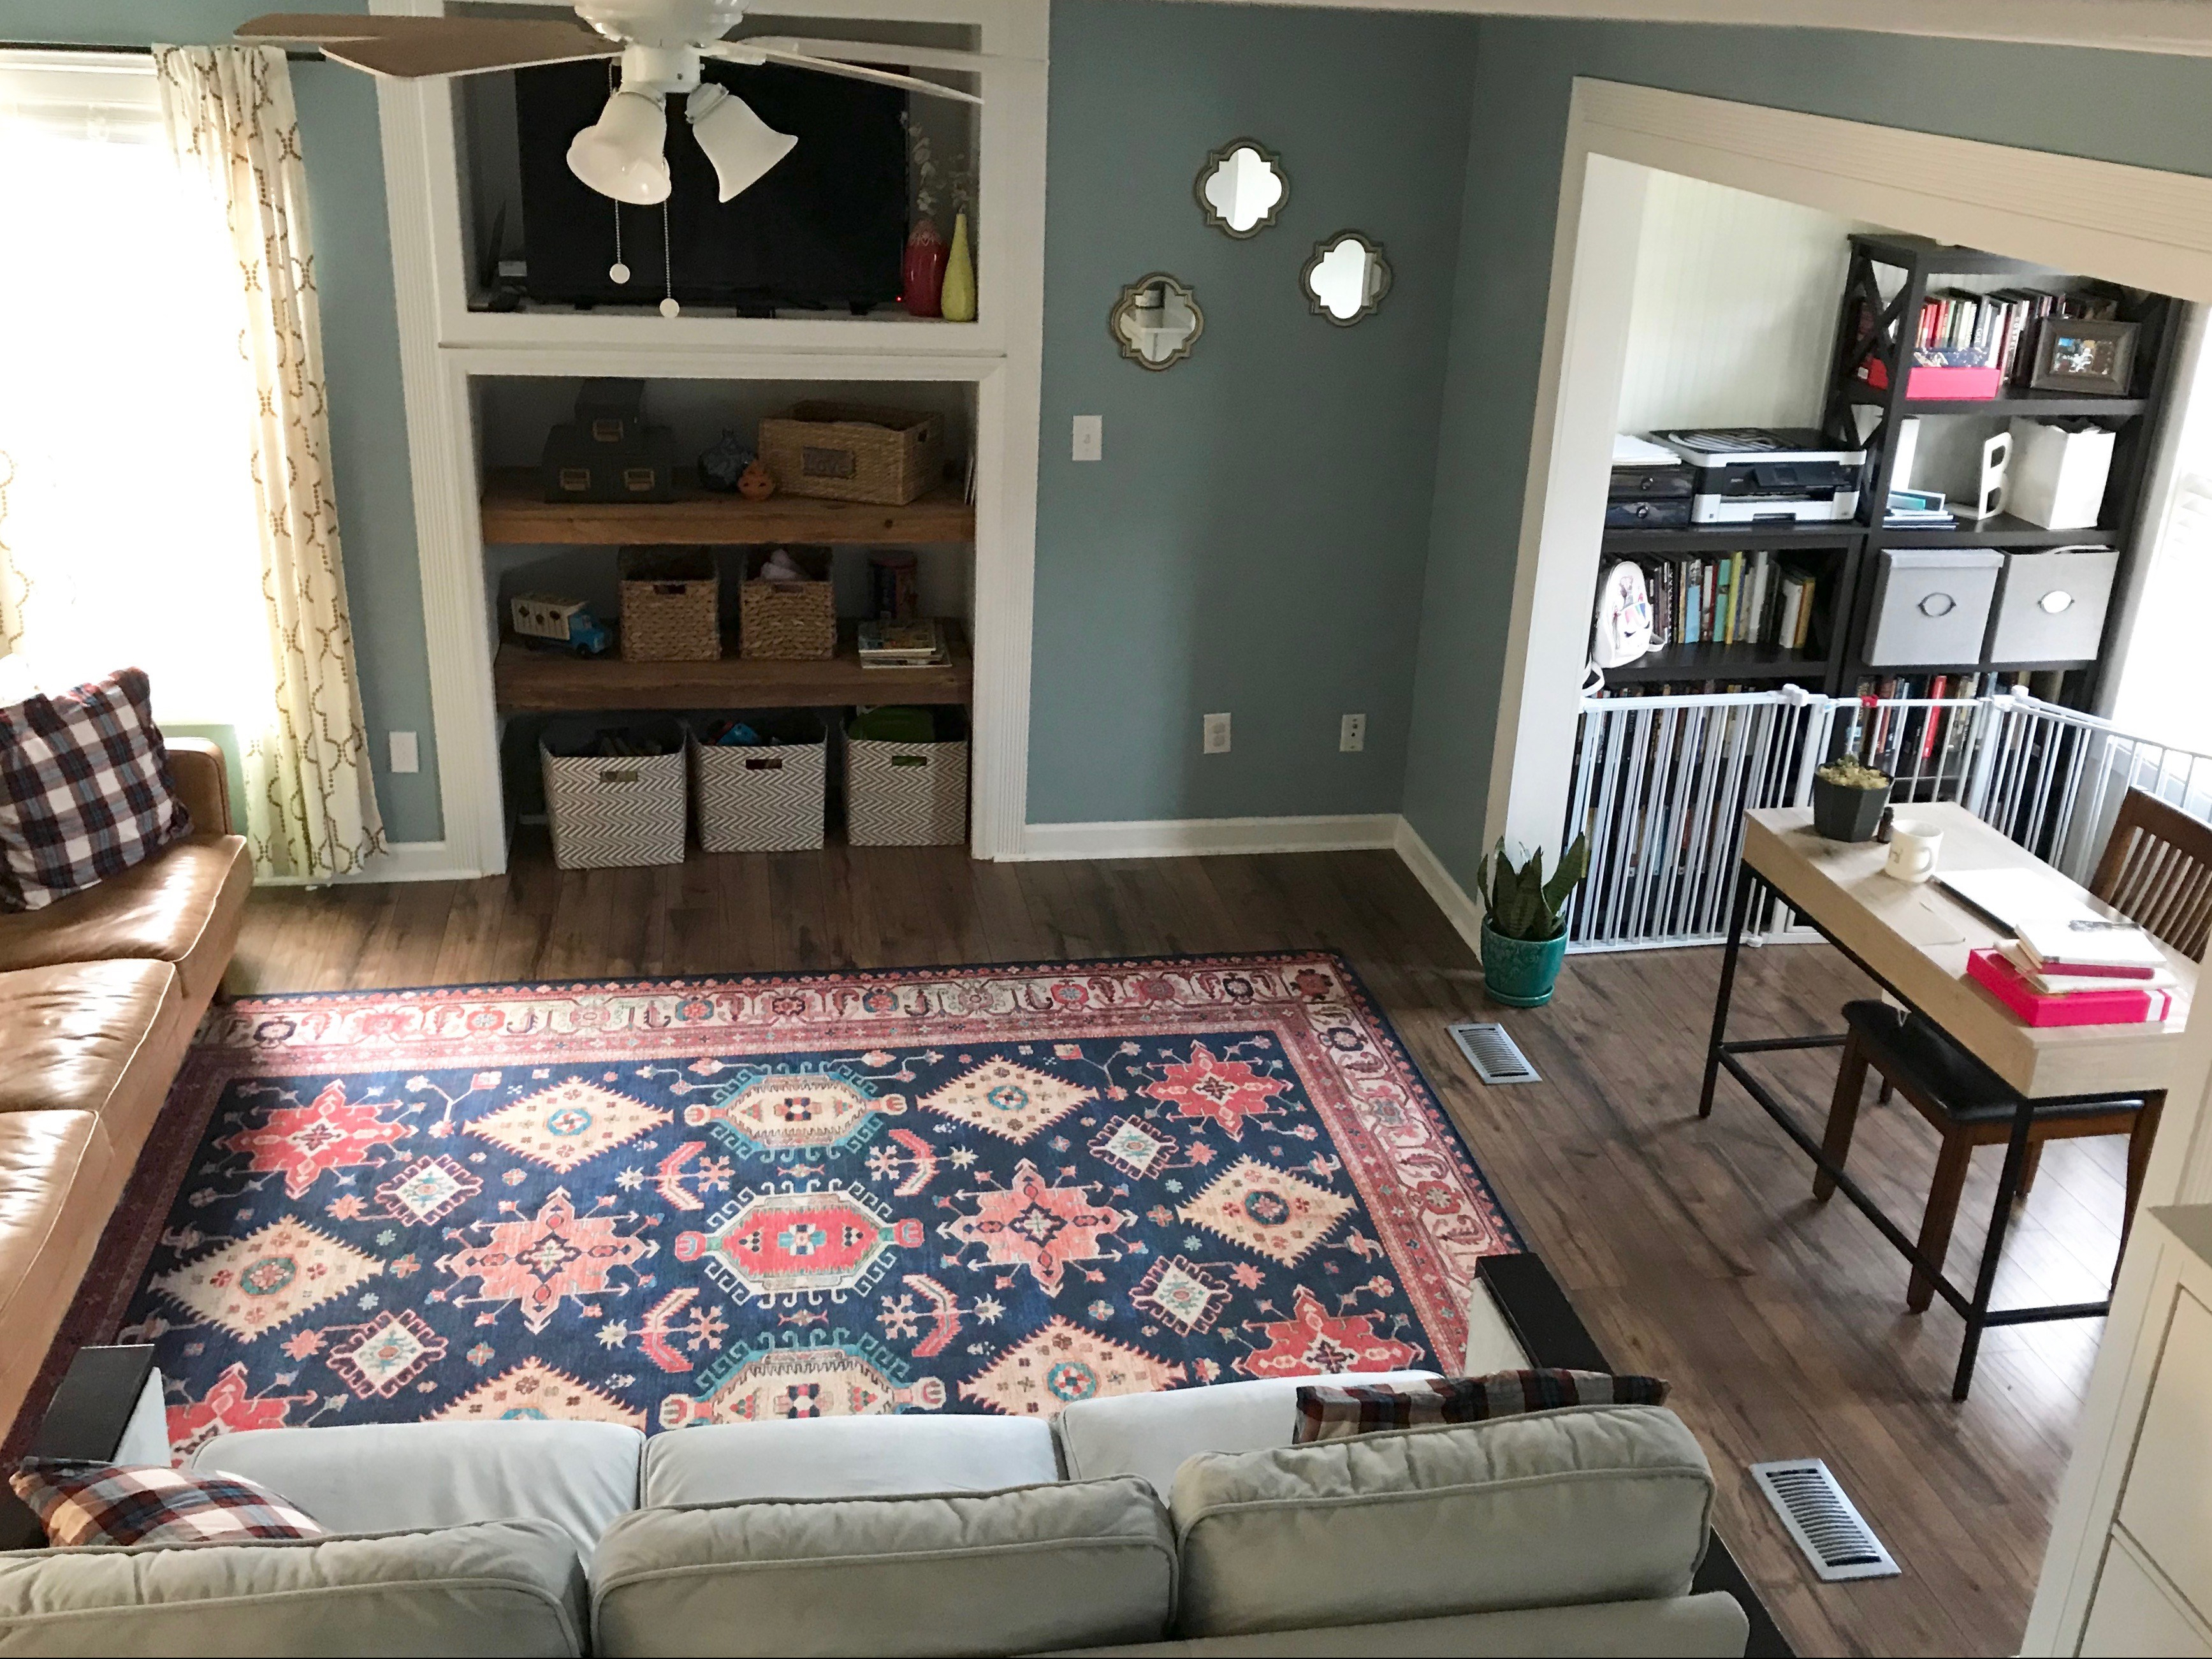
My handsome husband tirelessly worked all of his first-year winter break and then most of the neuroanatomy block putting in beautiful floating laminate floors that flowed through our first floor, including the once dog scented carpeted master bedroom. *If you are every purchasing a home with a strong animal scent removing the padding, then using Kilz on the plywood maybe your only hope of removing the odor. I bathed our carpet in baking soda which did help a TON but didn’t ever fully remove the odor.
Tom raised the home office to make it level with the living room and took out all the transitions that once broke up each room. There were a few glitches to the settling of a 20-year-old house where we had to call in assistance, but the majority was my man’s labor of love. Though I am pretty sure he will NEVER put in floors again…he prefers interventional work. And yes, he did still ace neuroanatomy!
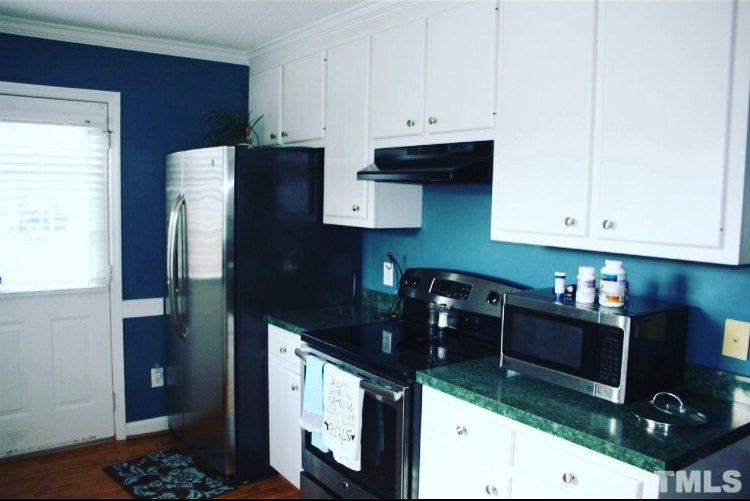
Taking out the bar wasn’t the only renovation needed in the kitchen. There is nothing more that says bachelor pad than dark blue textured walls combined with evergreen Formica counters. Tom and I both tirelessly hand sanded the textured walls. In hindsight, leaving the textured walls or buying a sander would have made for a more efficient process.
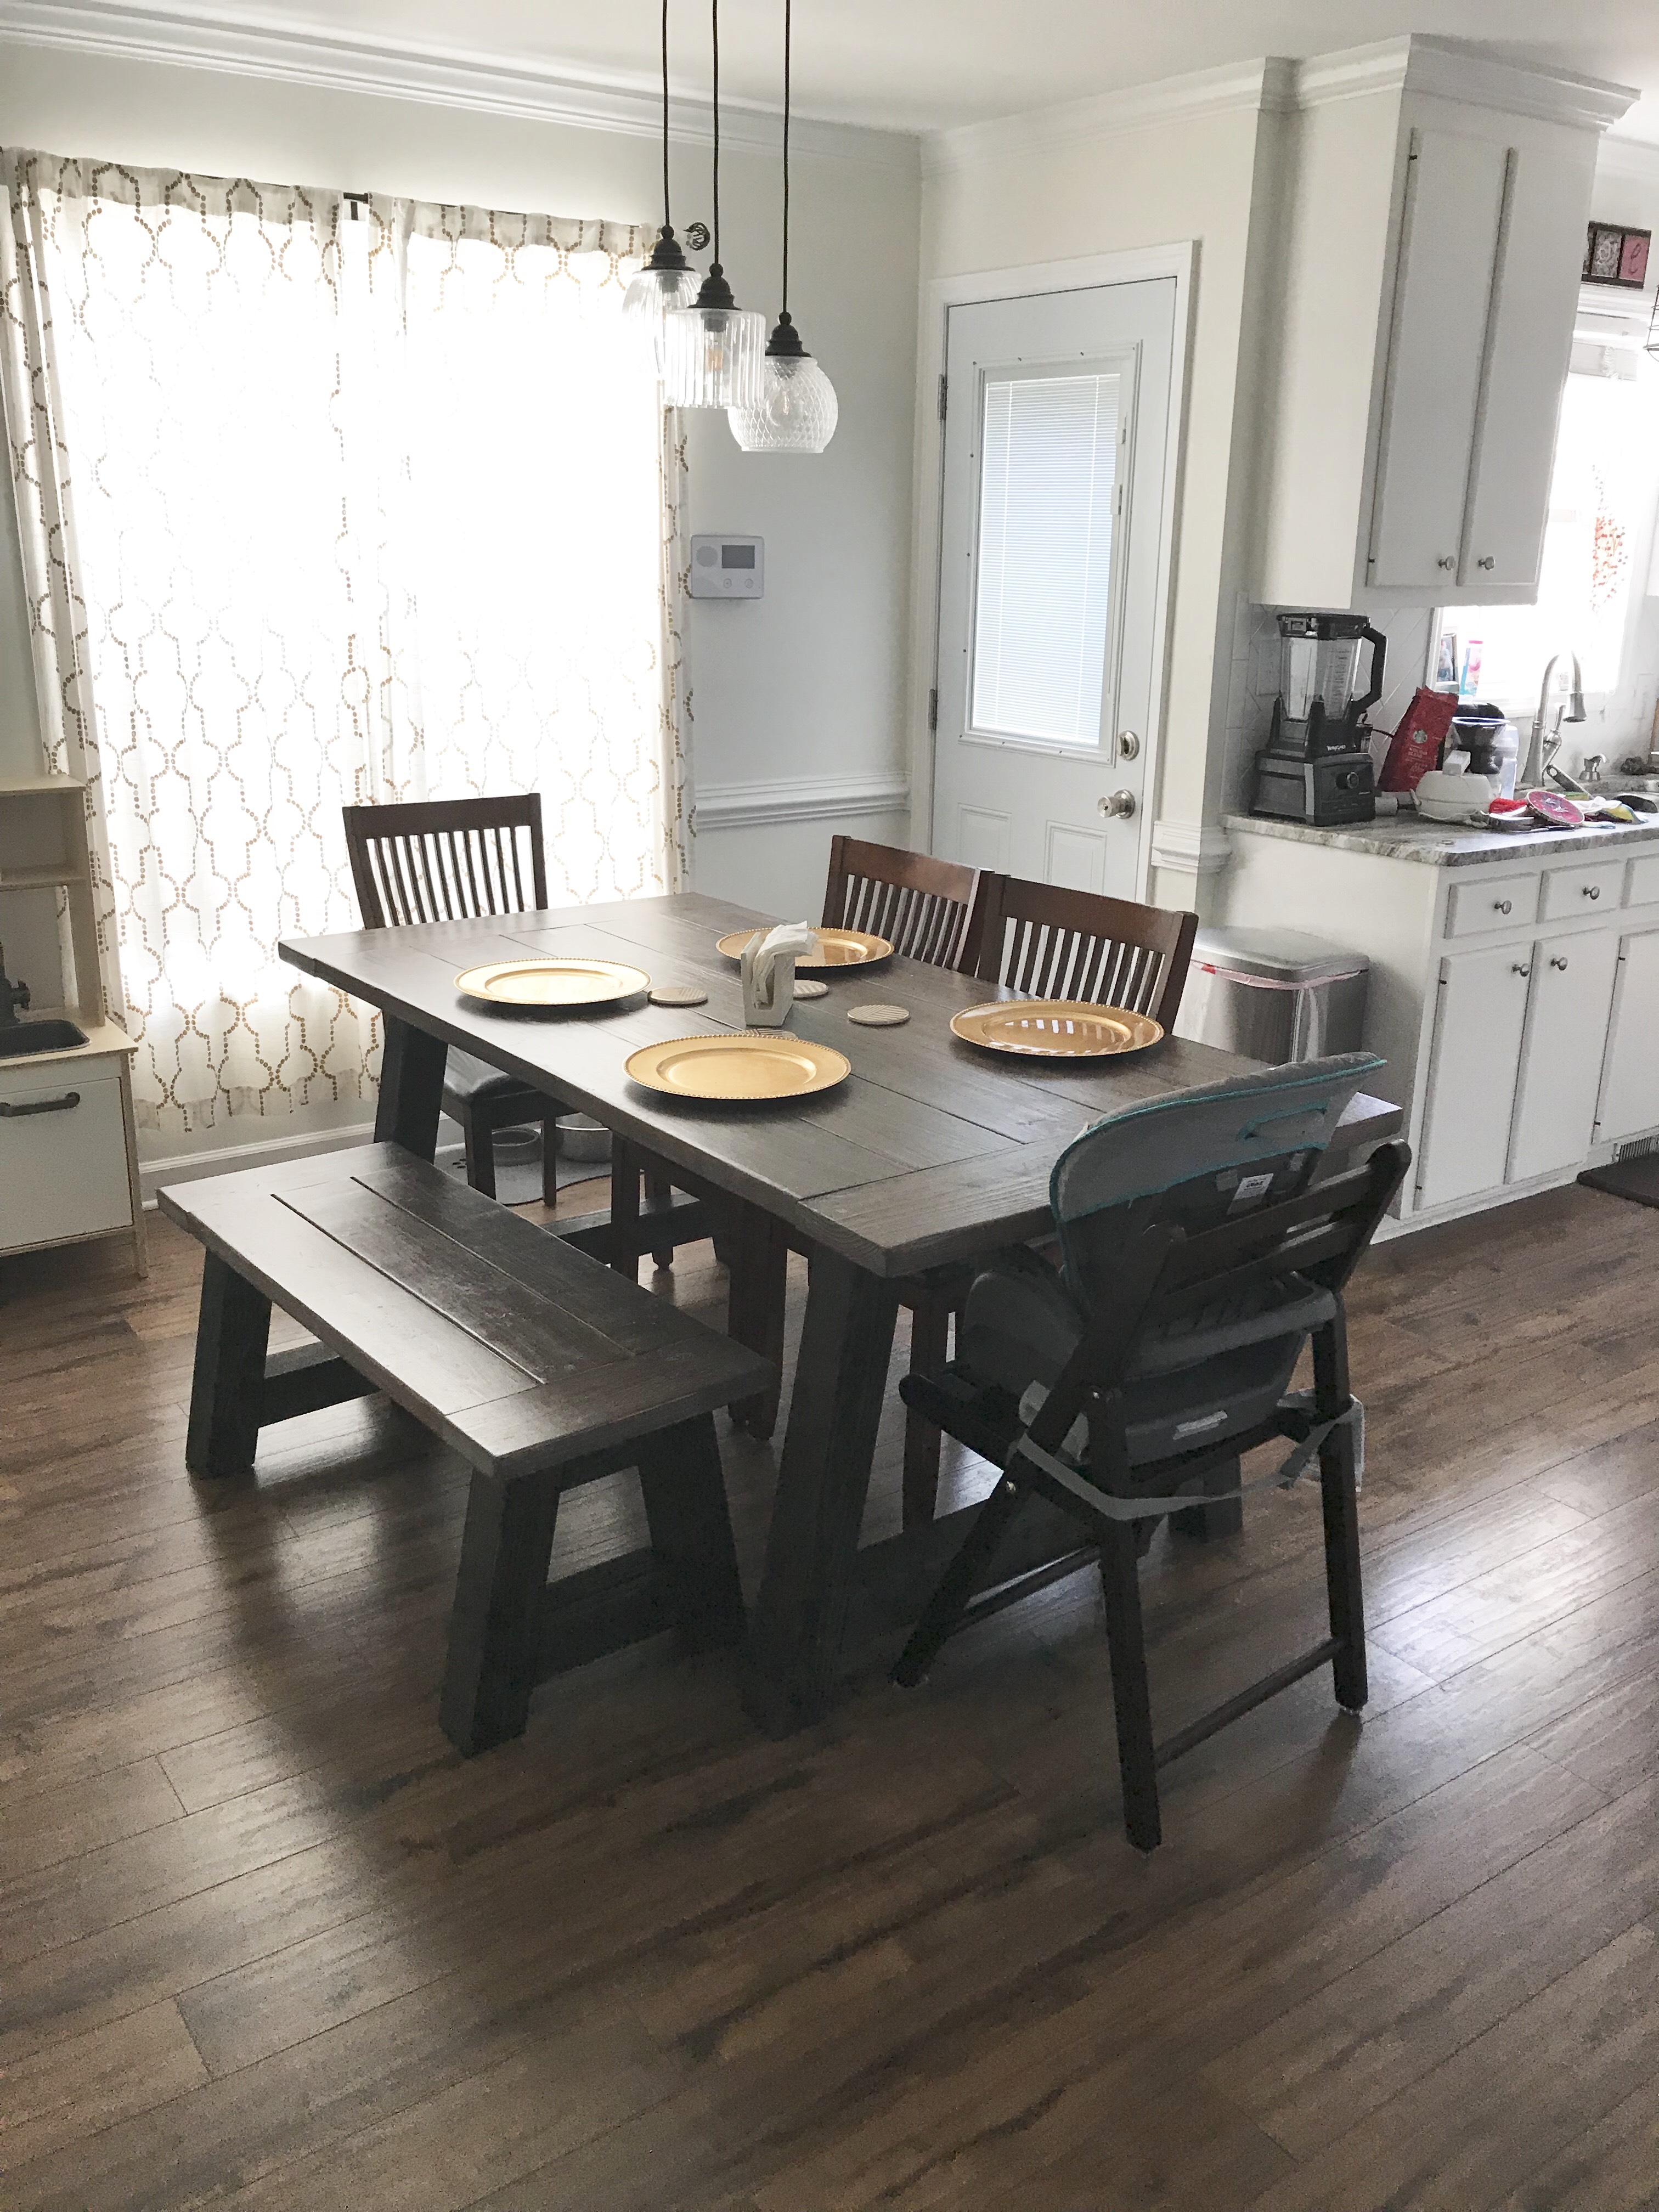
Dining Room After 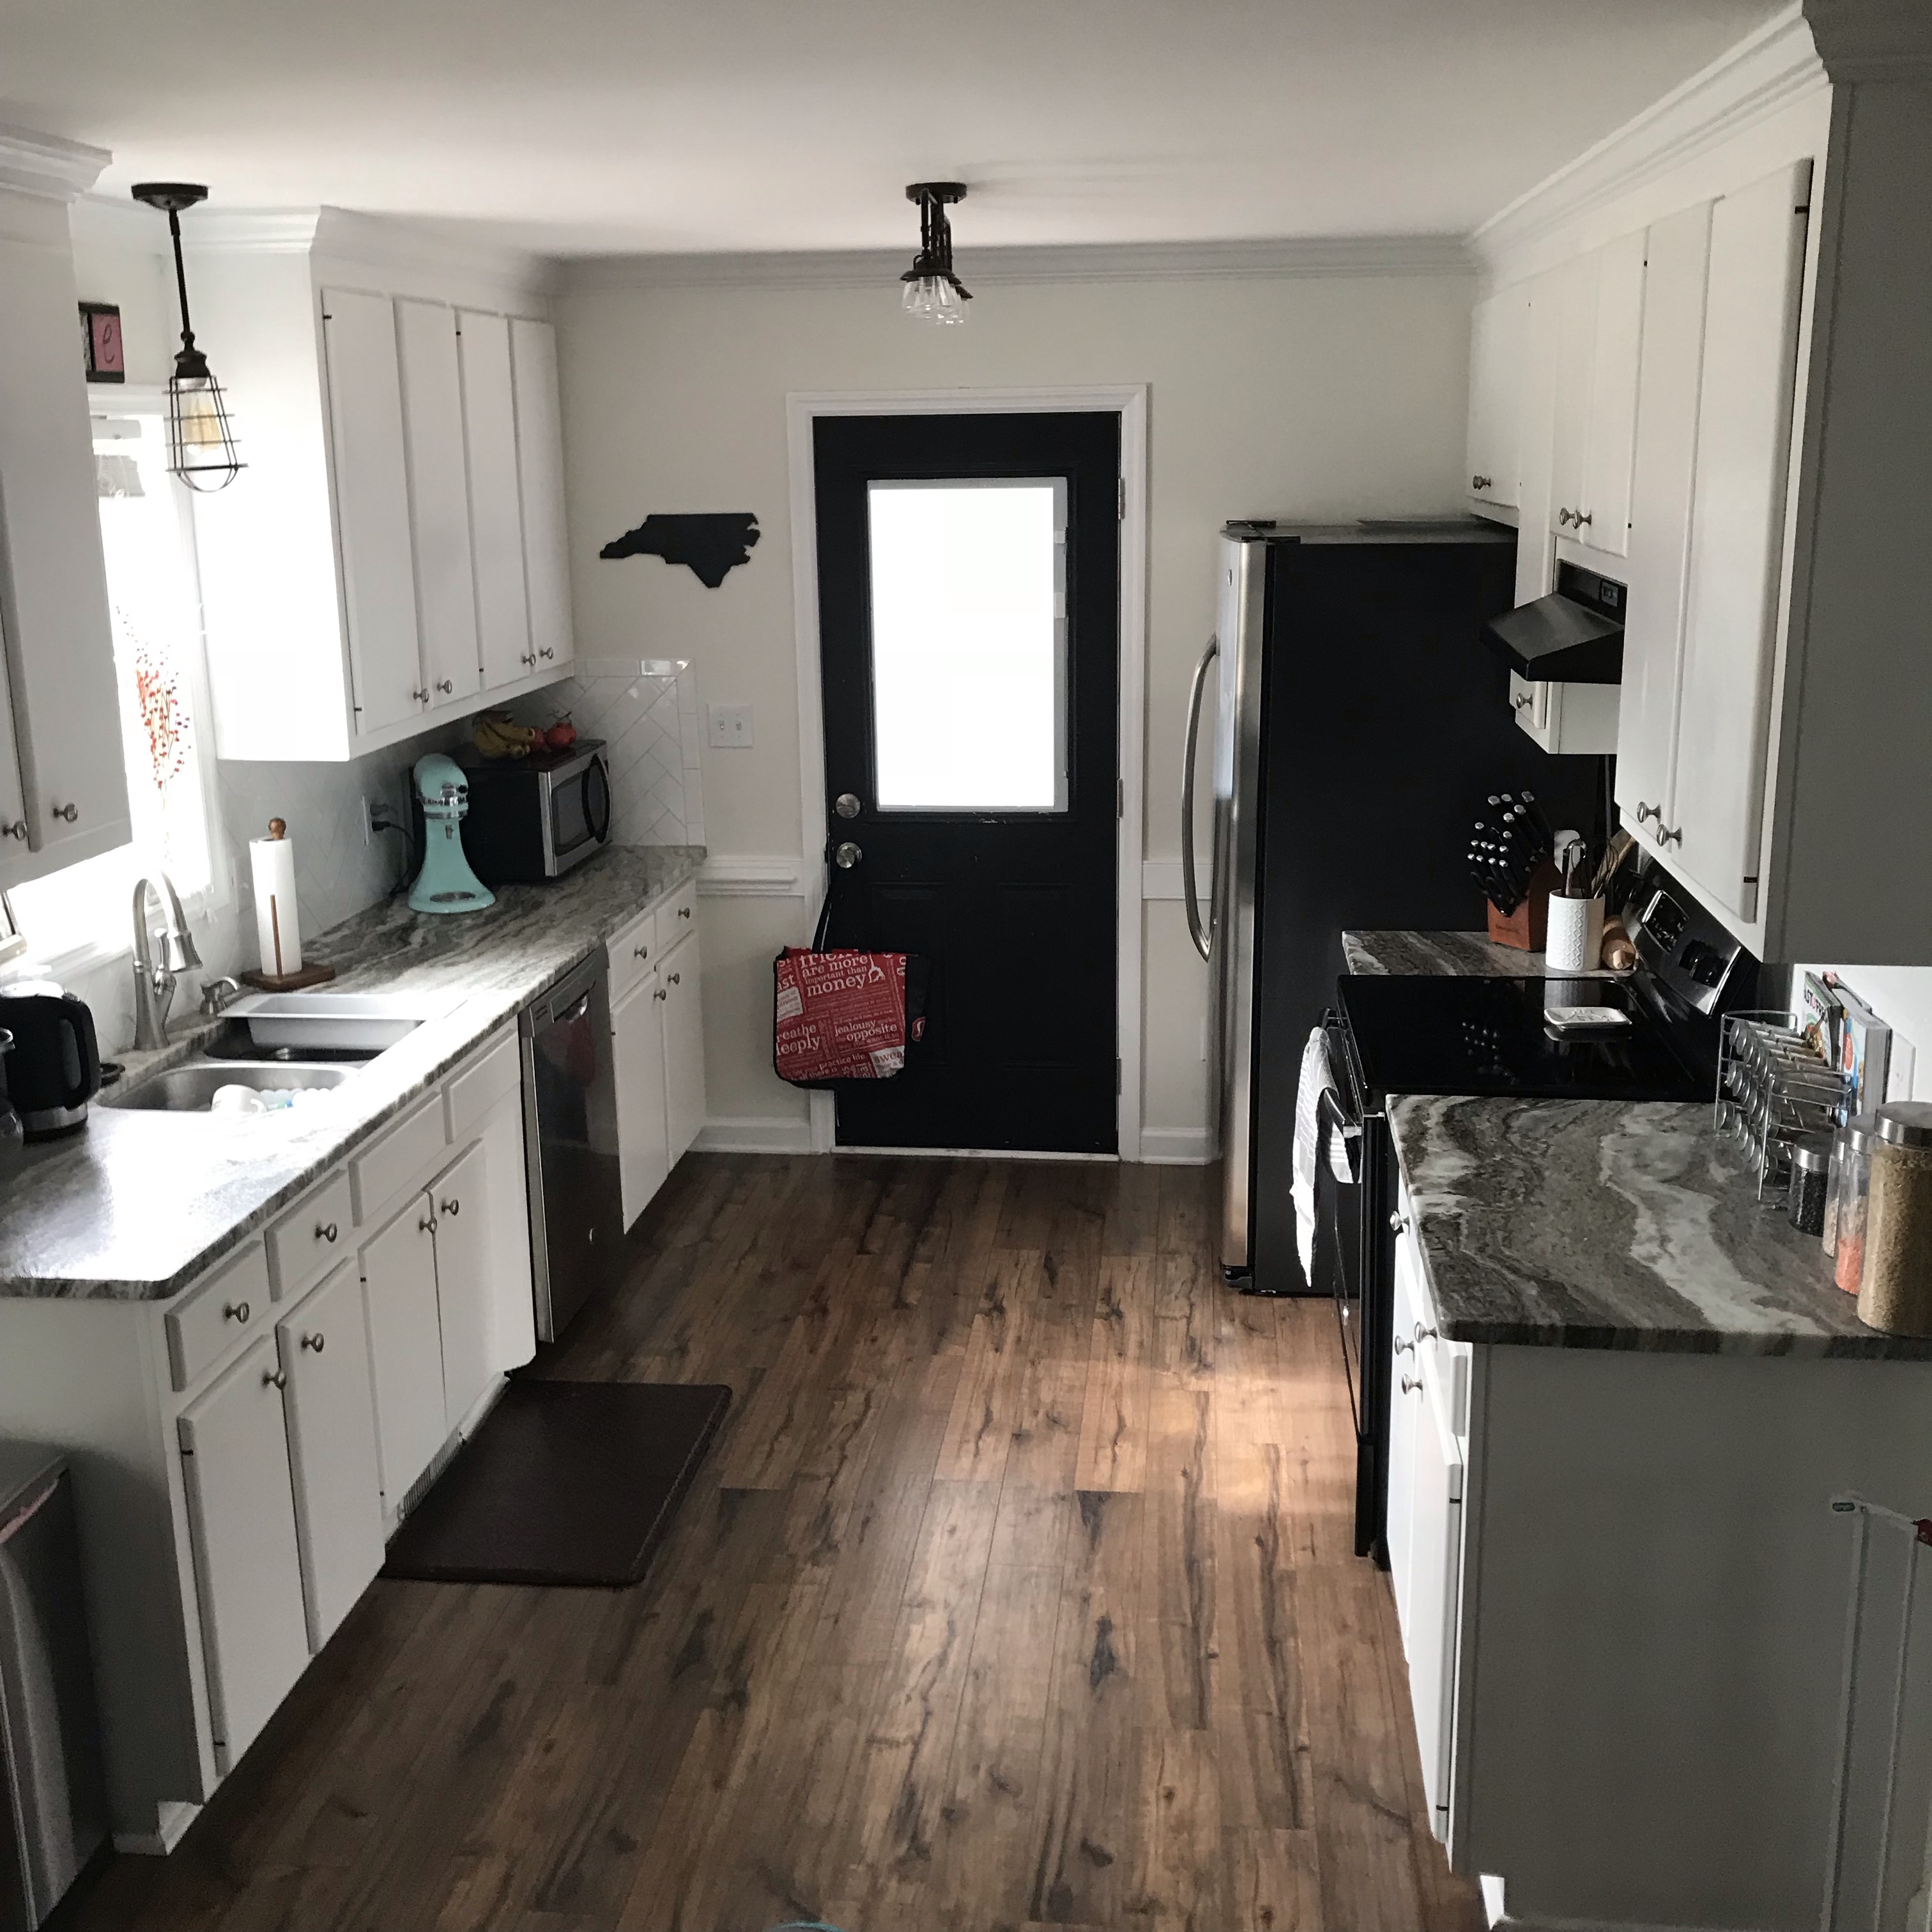
Galley Kitchen After
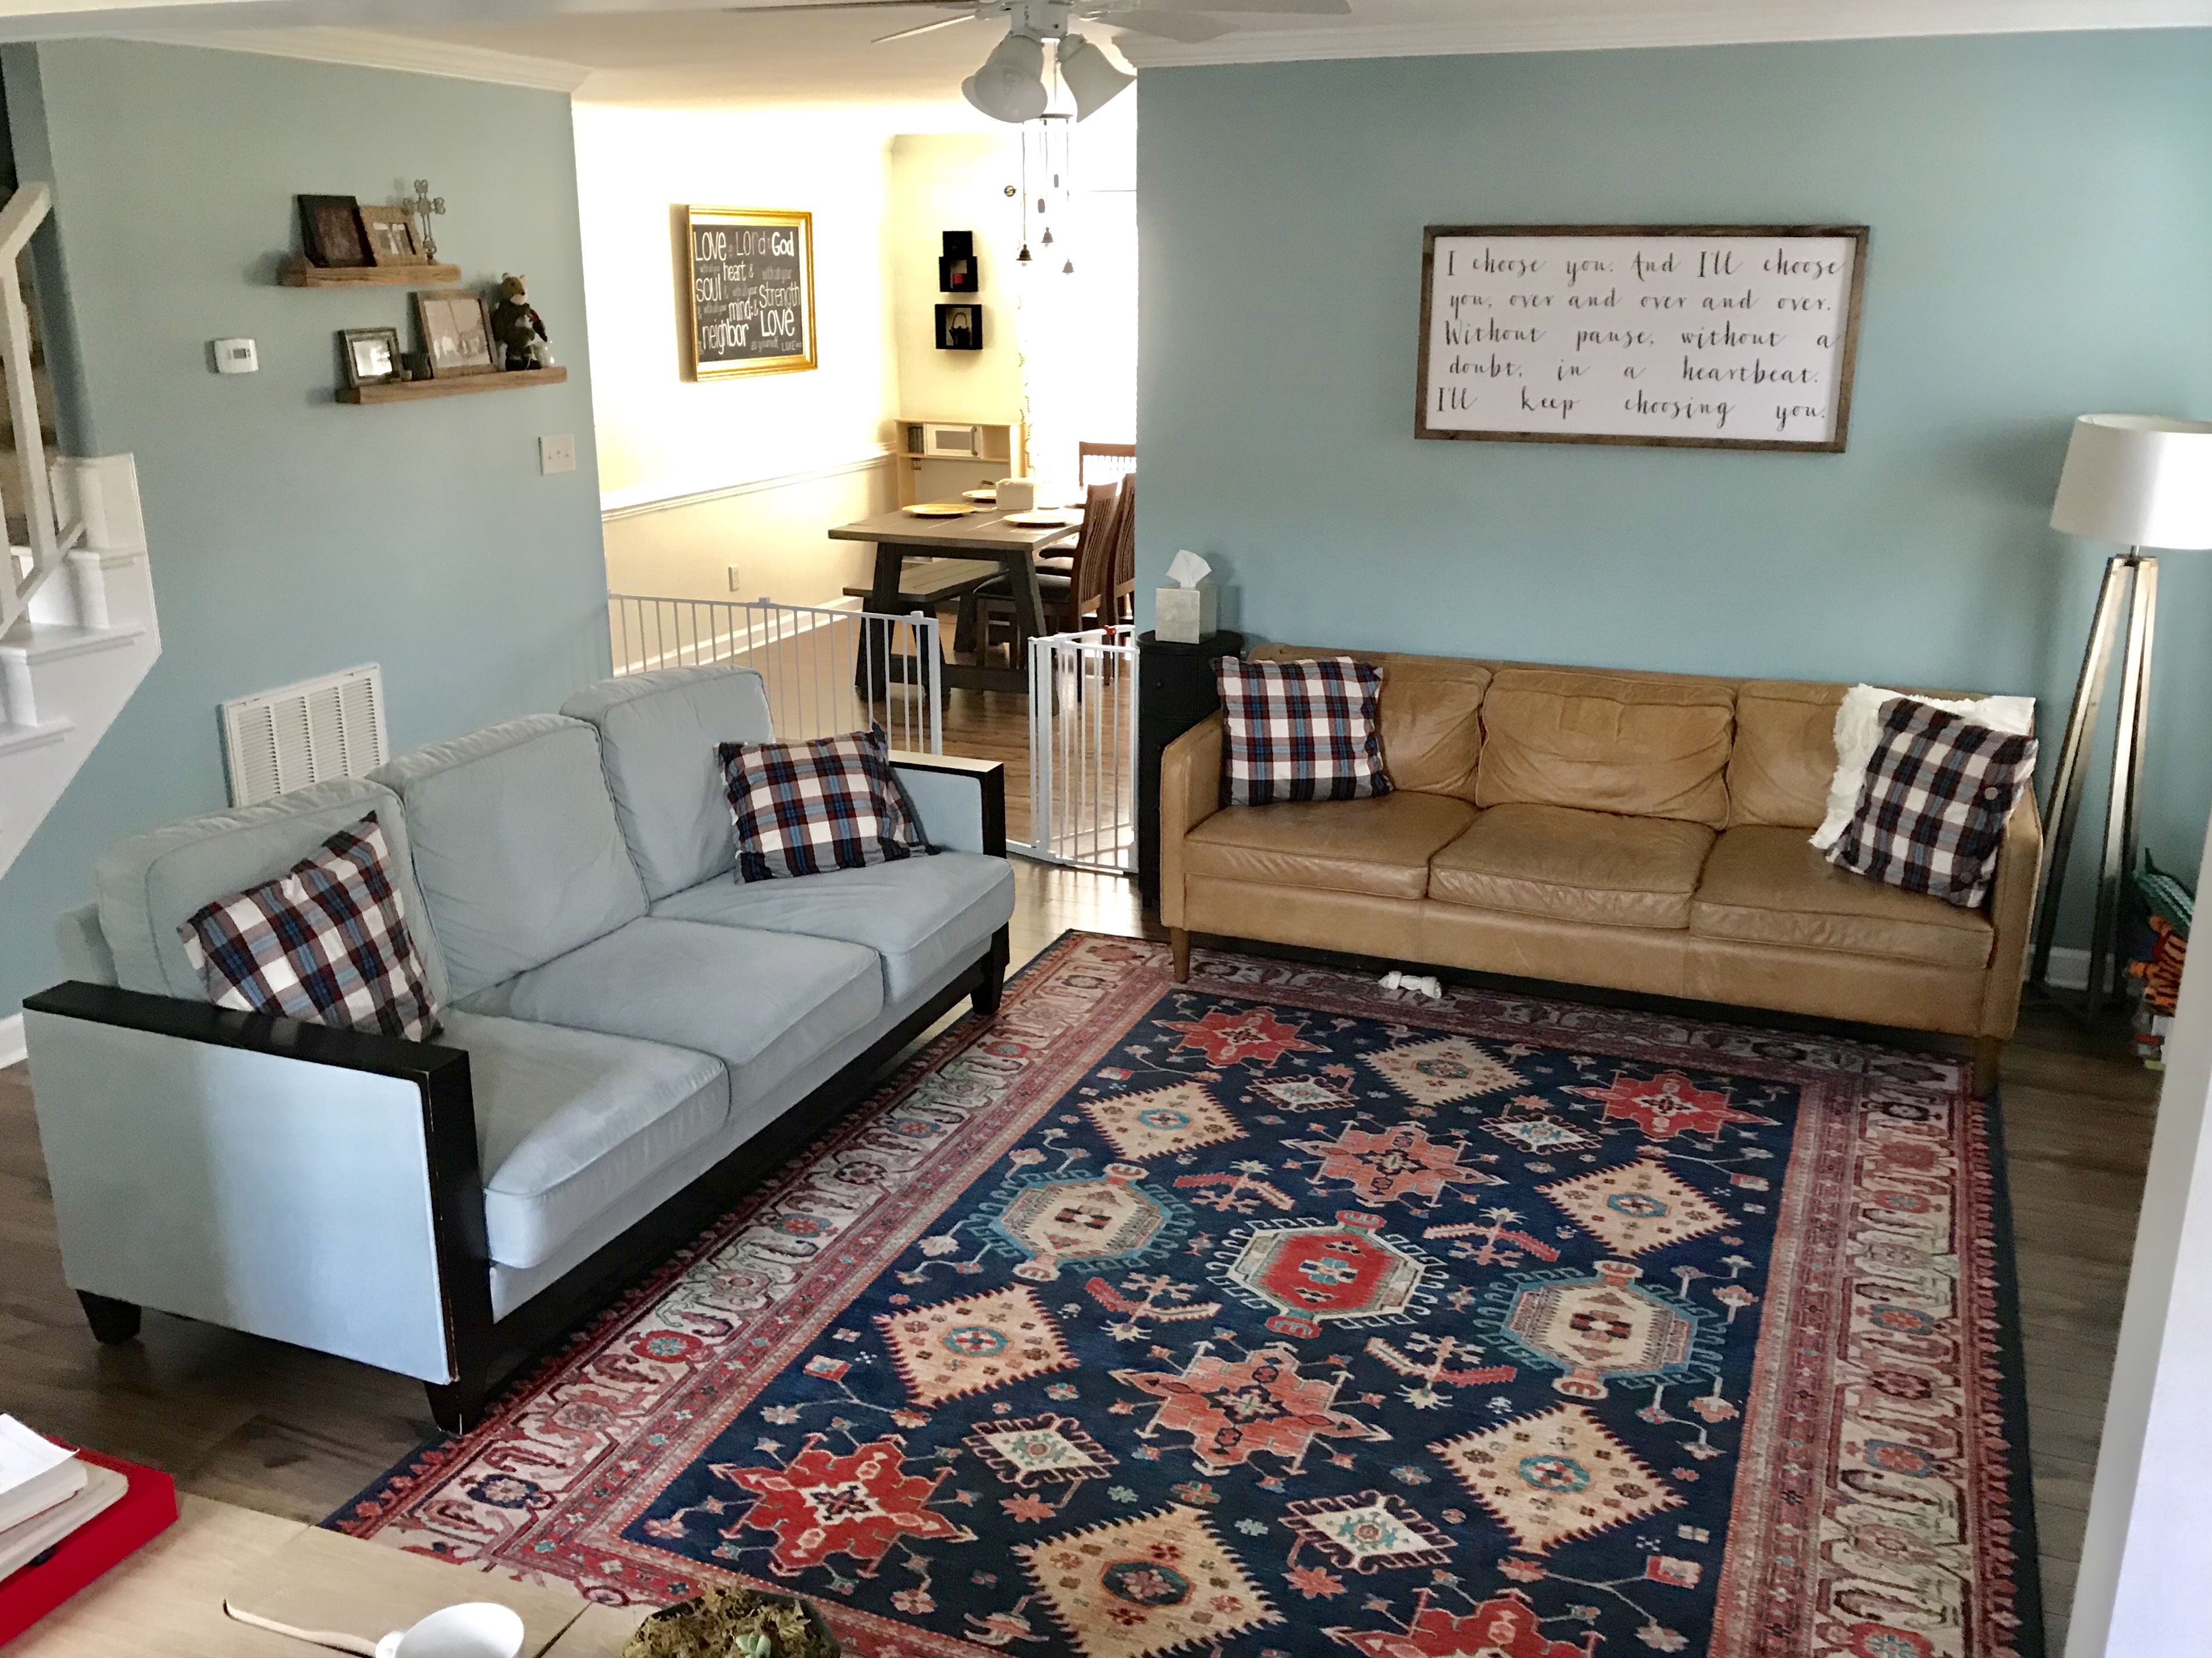
My favorite change we made was putting in a herringbone subway tile backsplash. With white walls and a grey leathered granite countertop, our kitchen looked gloomy like a cloudy day before the backsplash went up. The herringbone provides just the right amount of texture and sheen to brighten the kitchen.
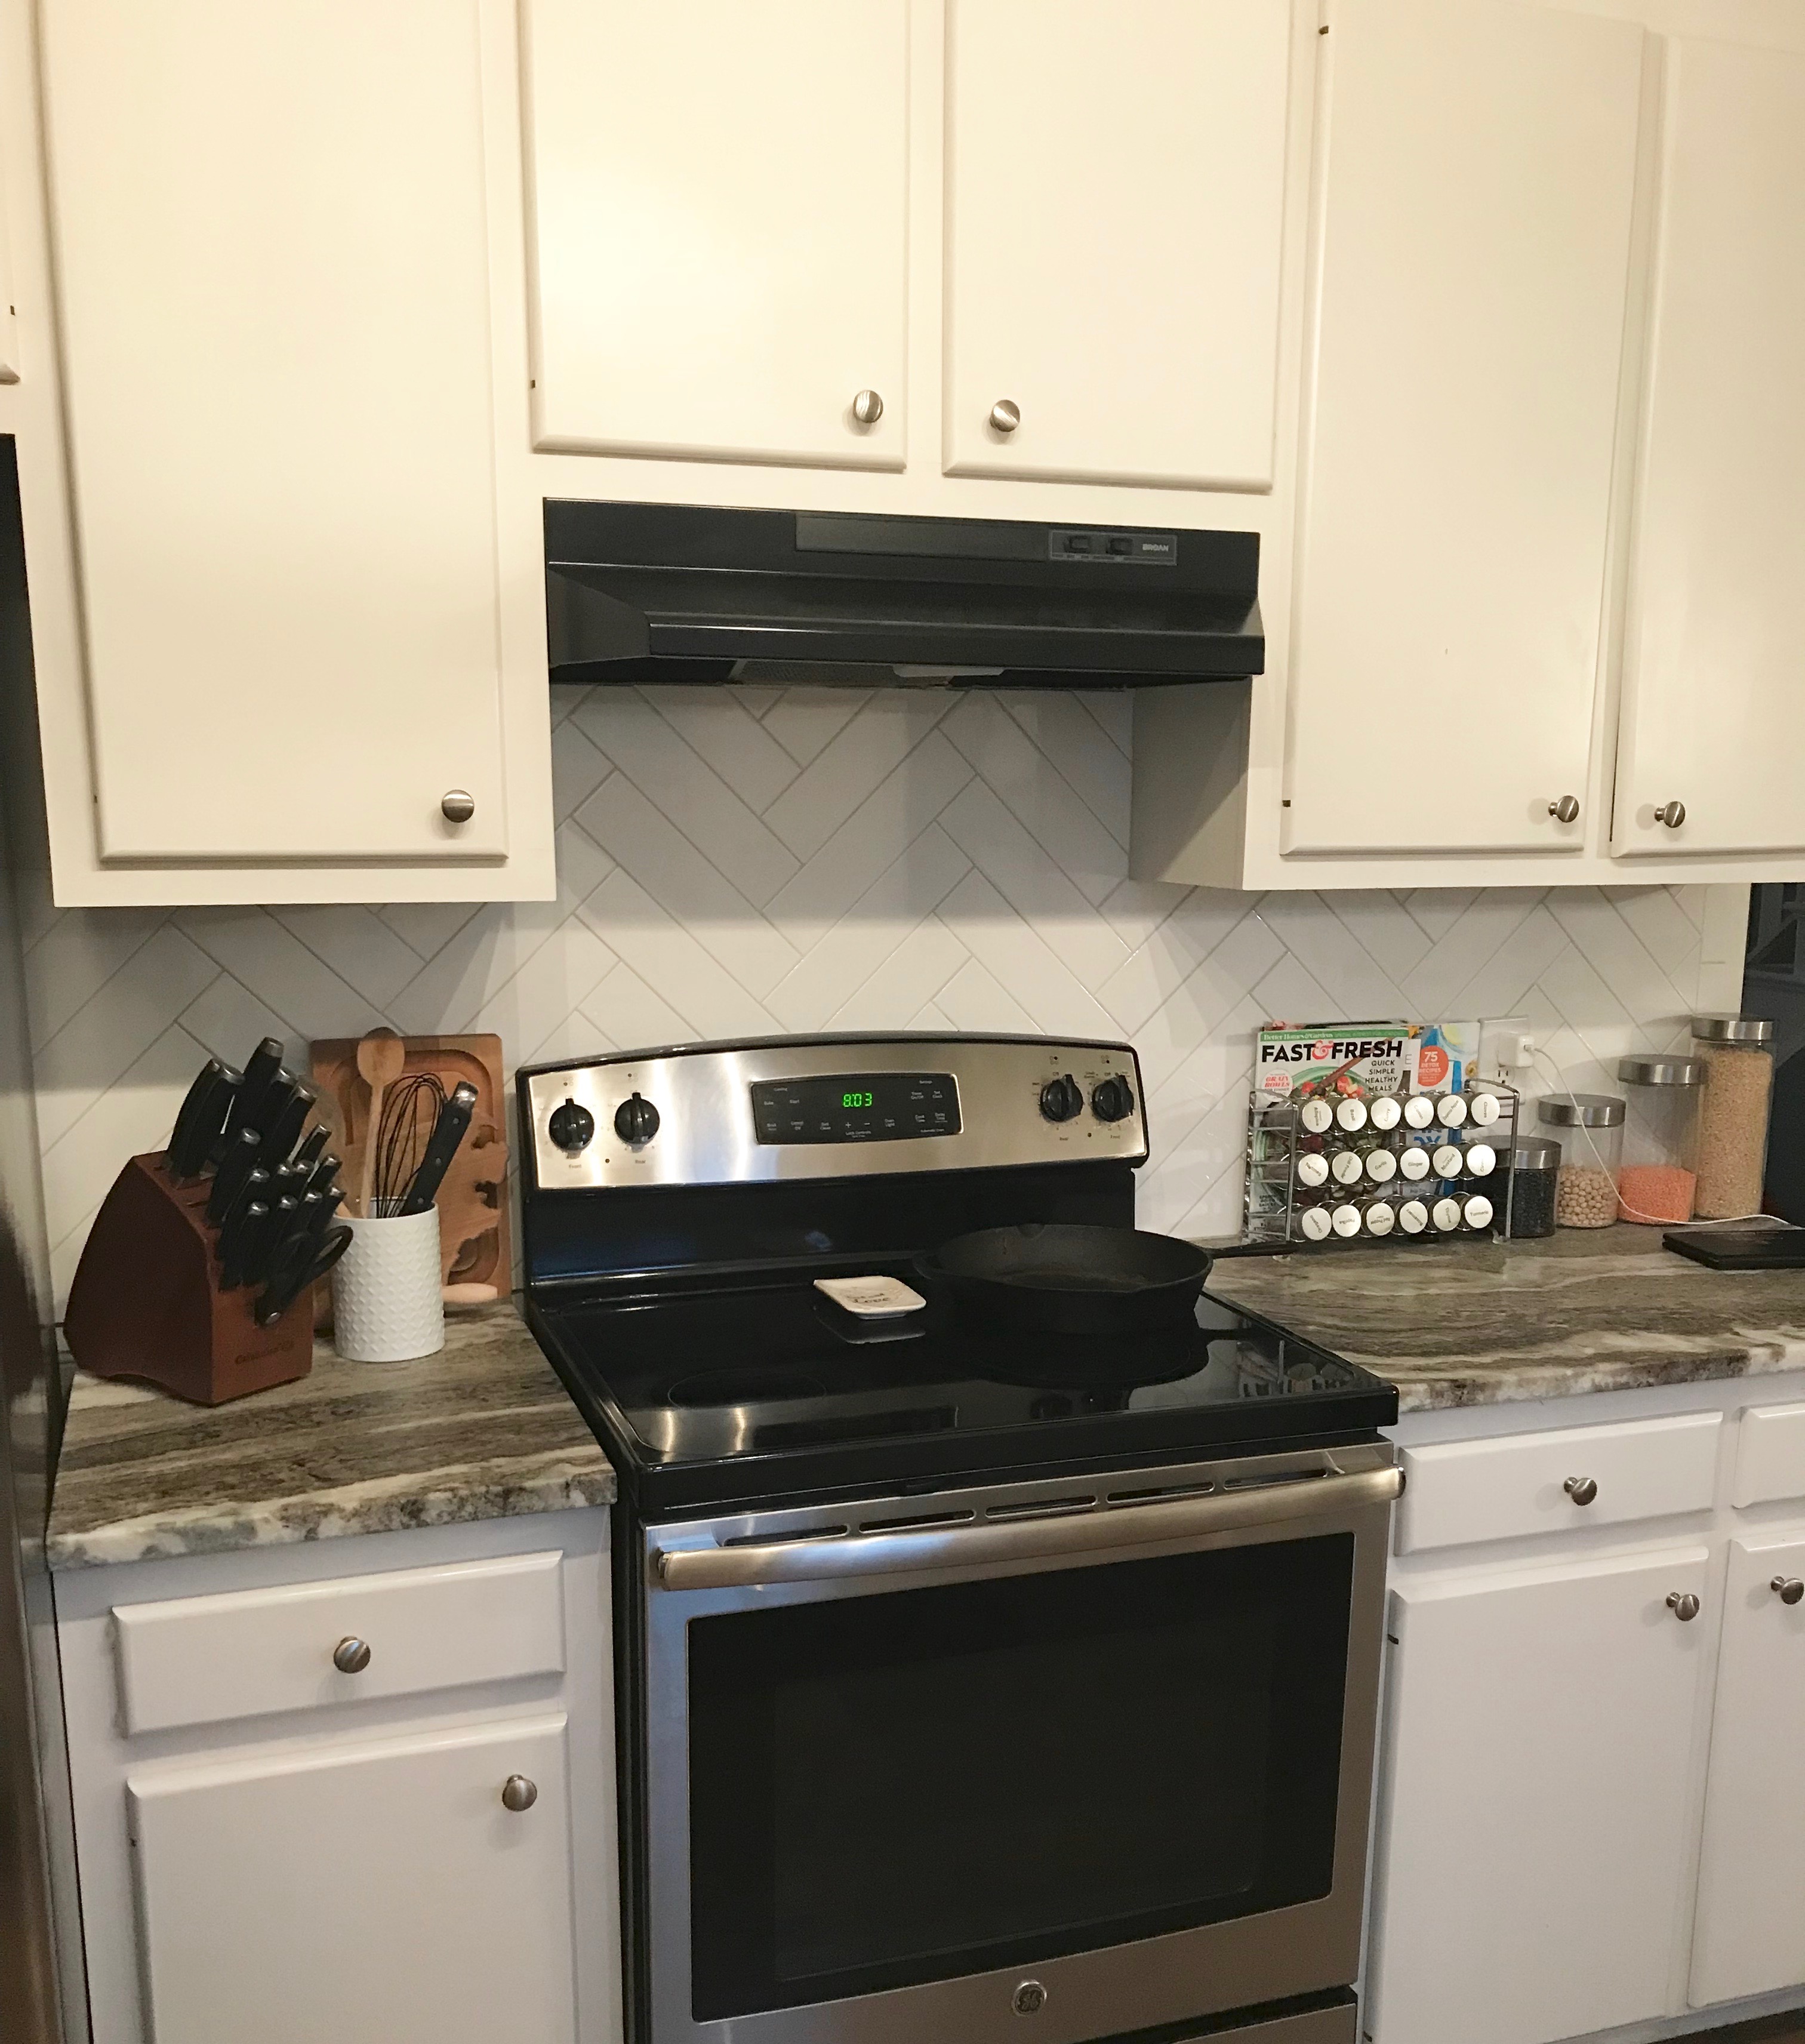
We worked with a local granite company and were able to pick up remnant pieces to fit our two bathrooms. For more counter space we went with underlay ceramic sinks and updated the faucets. The new stainless steel kitchen sink required restructuring of piping to get the garbage disposal attached and from that experience, we learned that we could not afford a plumber for anything else…$175/30 minutes :0. The cost also made us rethink pursuing a career in medicine. Tom was able to install the new faucets fairly easily and didn’t need to hire a plumber for the other sinks. Whew!
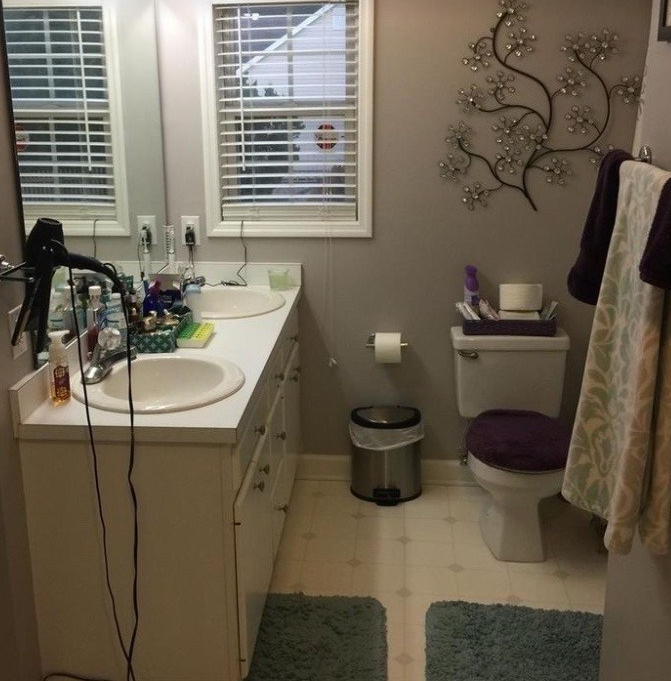
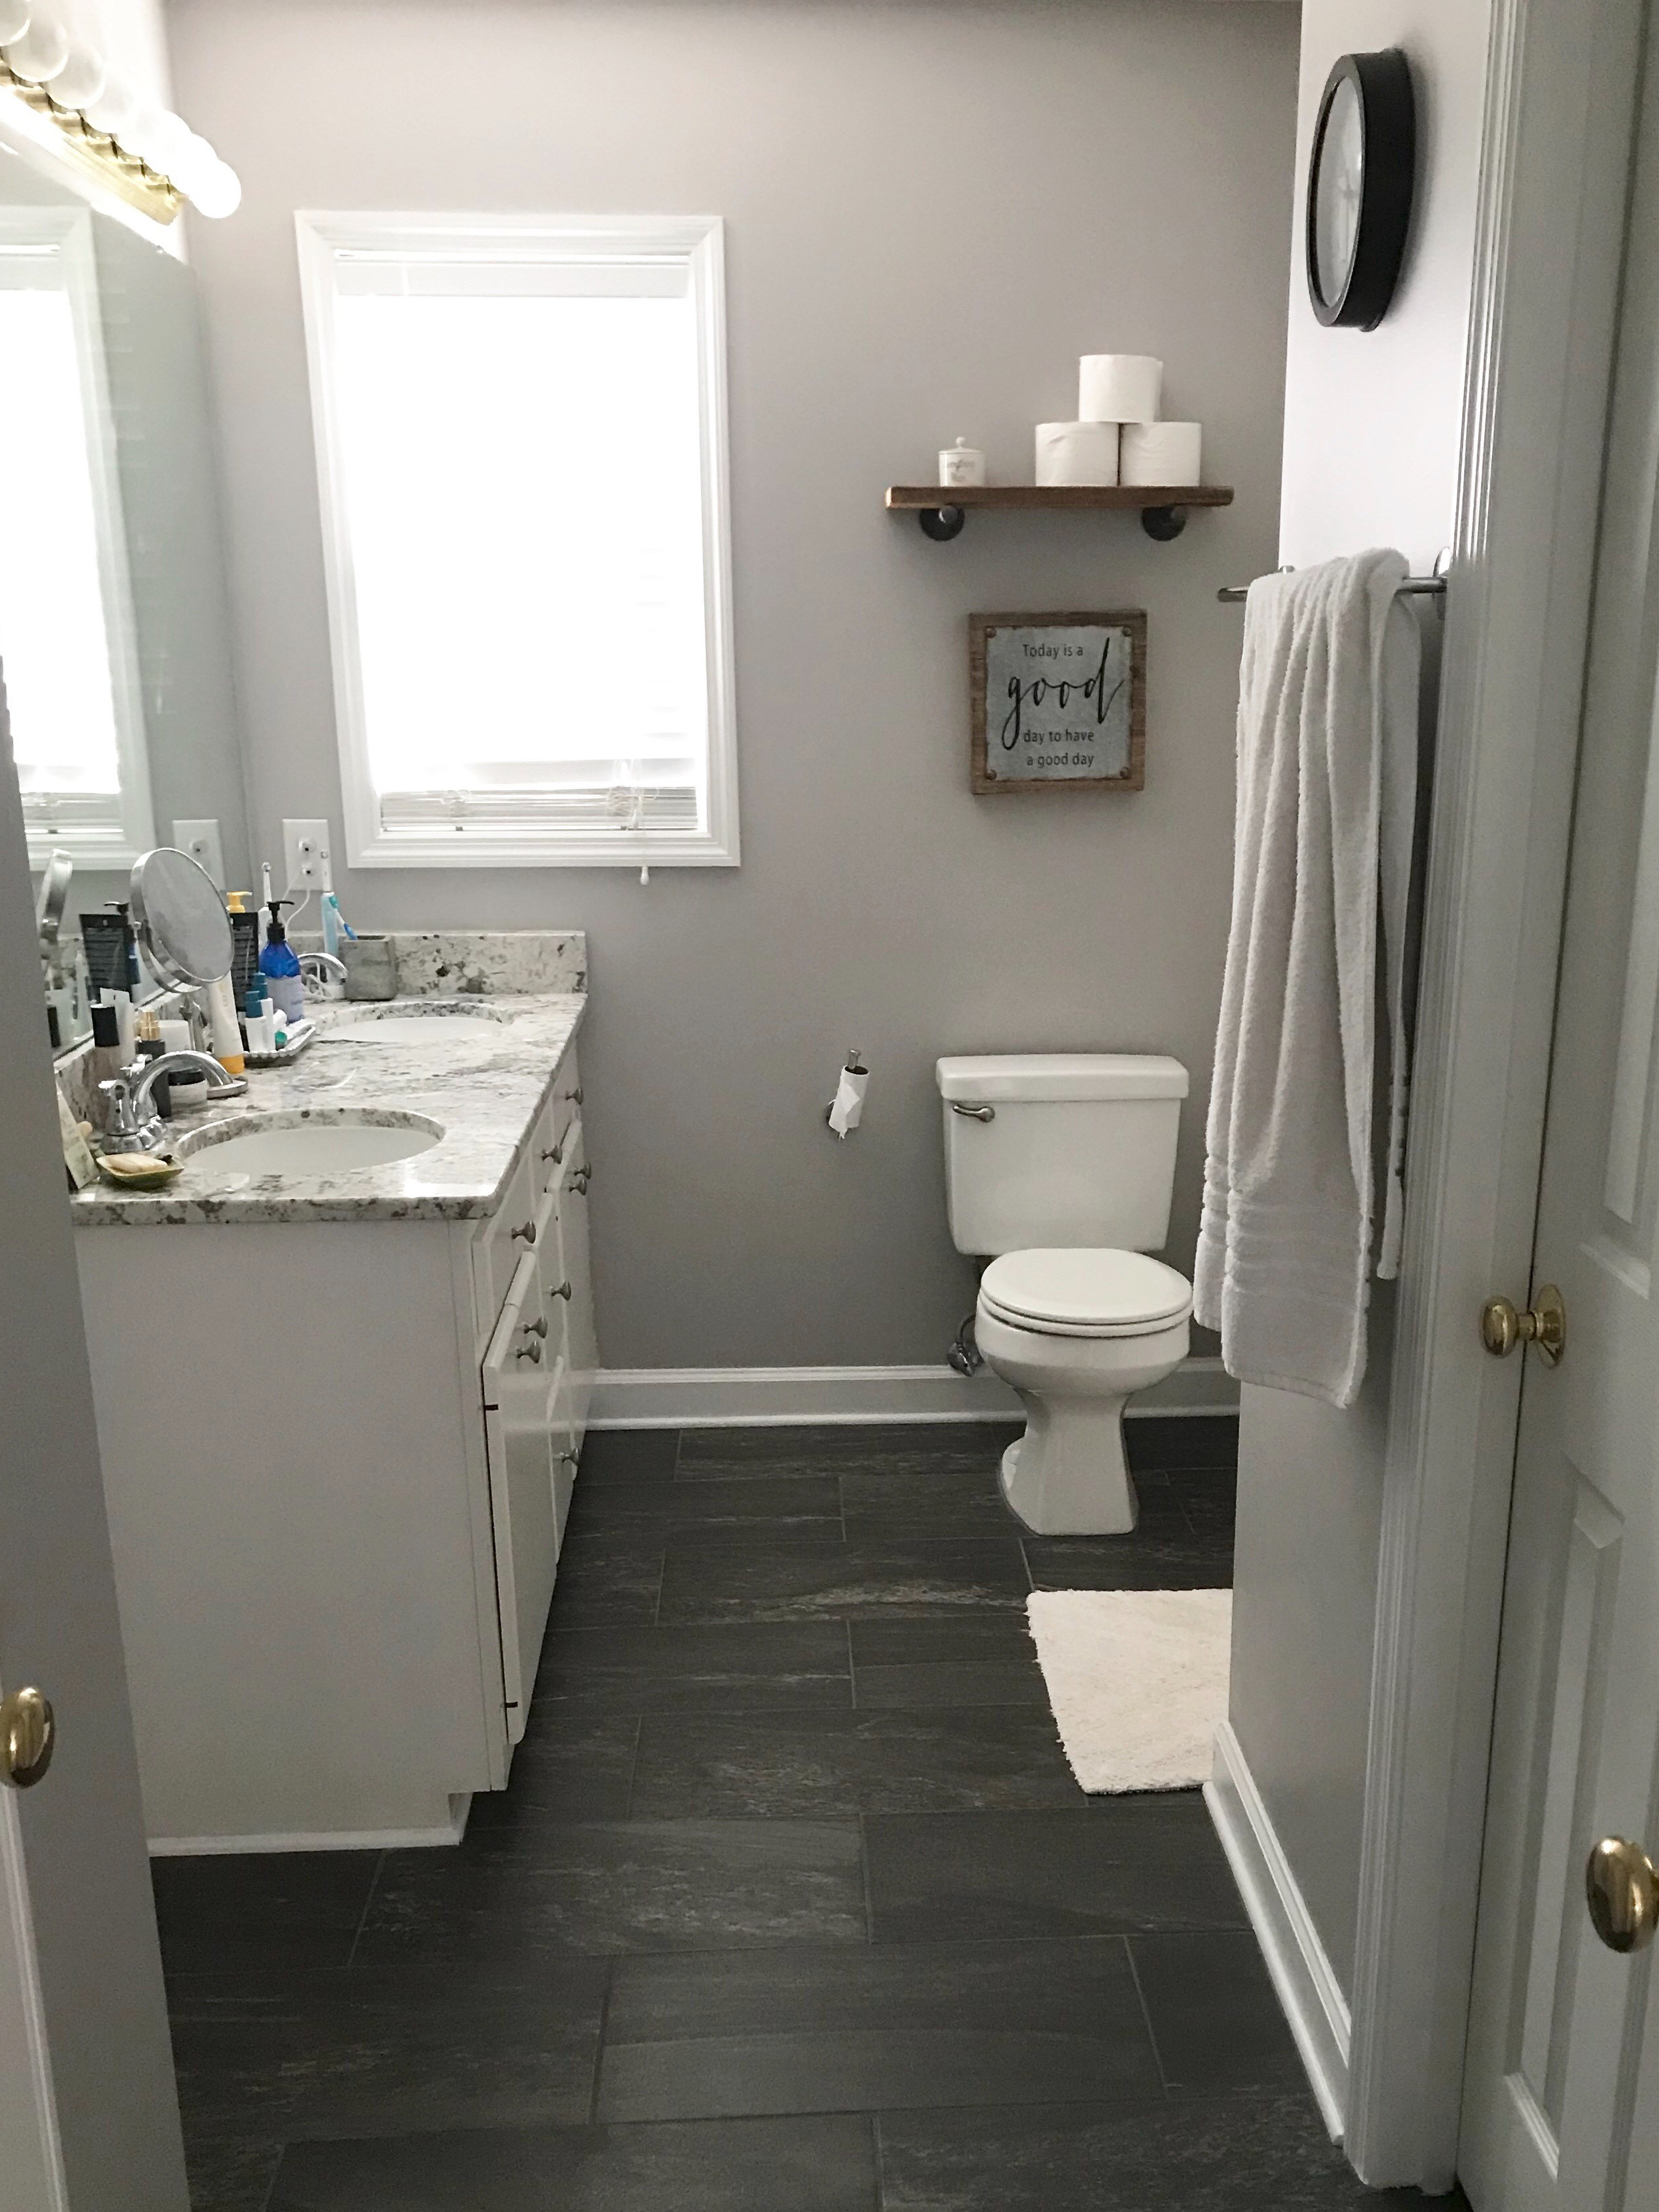
In buying a house and renovating sometimes you have to take a step back from the ideal Pintrest worthy design and think about what is practical for the price point of your home. In our case, we bought for location, location, location. 1.5 miles from Chick-fil-A and 2 miles from Aldi….j/k. While the market is trending in our fast-growing area we will make money on the home or turn it into a profitable rental after the medical school years. However, our price point isn’t one which a tile shower, as attractive as that is on Pintrest, is a smart financial investment. A tile shower alone is in the upper 8k range. Thankfully we were able to later have the main/Master bathroom floor tiled. My parents also had recently built a house so we were able to use their leftover tile for the laundry room which saved us several hundred dollars. This was only possible because I opted to sand and stain our huge deck to save some insurance $ and use it toward having these rooms tiled professionally. I think many people could tile their own floor but professional leveling was needed between the bathroom and hallway transition. We knew this was beyond several Youtube tutorials and hired a professional tiler. The last step for the bathroom will be new light fixtures and double mirrors, but we have had too many unexpected expenses with cars. This is one to look forward to in the distant future, like when our son grows up to be an electrician…also a lucrative career to consider.
When we bought the house we had agreed to paint, put in tile and engineered floors, and update to granite countertops including a backsplash with a bit of saving we had from working prior to medical school. The rest would be updated as needed when we got extra money or replaced something broke. BUT…When the microburst hit it caused 35k of damage to the exterior and interior of our home and a year-long process of restoration began.

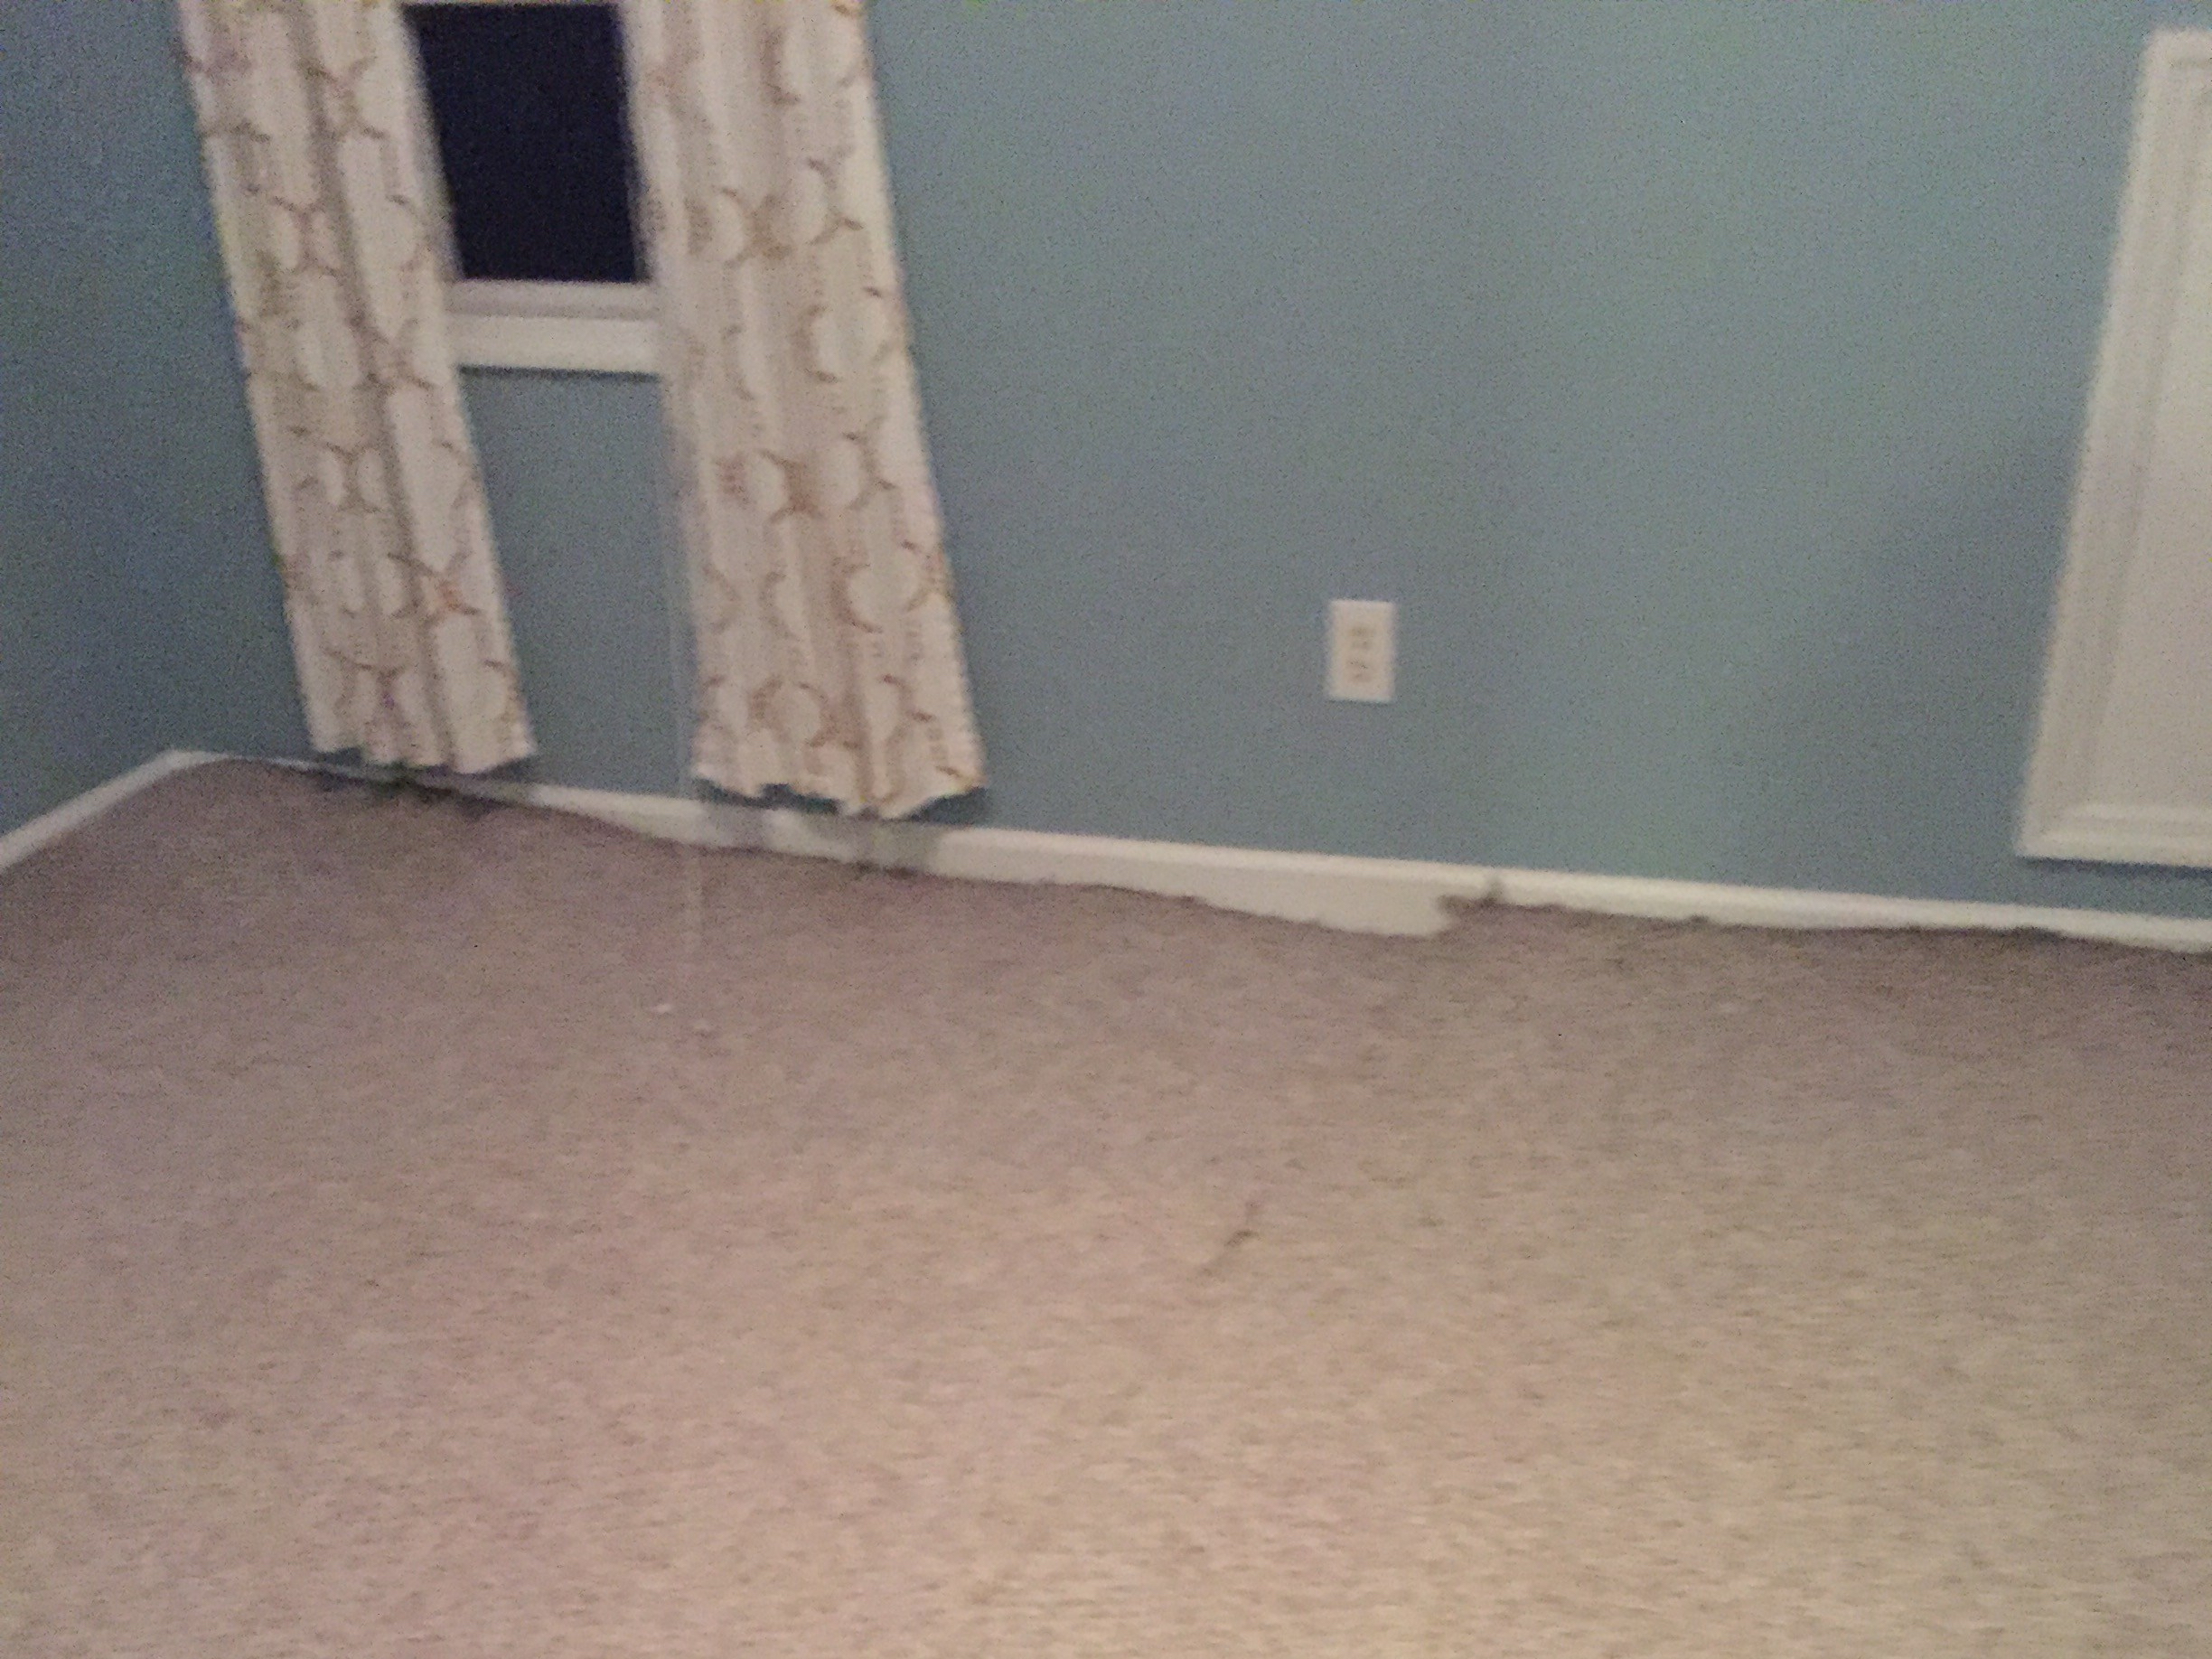
Water came through the 2nd-floor bedroom window. Not enough to cause too much damage, but just enough to thankfully soak carpet that had a pretty serious pet odor and was torn in some areas. This caused damage to part of the first-floor ceiling. Insurance provided the funds to repair and repaint the living room and kitchen ceiling. We had popcorn ceilings but I got thrify and found an excellent painting company that removed all the popcorn, repaired, and repainted the space within the allotment from the insurance company. We did pay a little extra to have the main bathroom done as well so that all the main hosting areas now had freshly painted flat ceilings. Taking out popcorn ceilings makes the 8ft ceilings appear higher because shadows from popcorn ceilings give the illusion of a smaller space. An added bonus to removing the popcorn was updating the light fixtures without leaving a mark.
Carpet color was probably the hardest to pick. There are so many colors and brands but getting a clear picture of what it will look like covering two entire rooms is difficult. The color I ended up with as it has a more golden tint then I was hoping. However, we stayed in the budget by removing the carpet ourselves. Rather than replacing only the carpet in only one room, we were able to cover the two upstairs bedrooms, hallway, carpet runner, and our downstairs master closet! Staying in the budget and getting more is a complete win in my book, especially when considering resell appraisal doesn’t account for the type of carpeting you use.
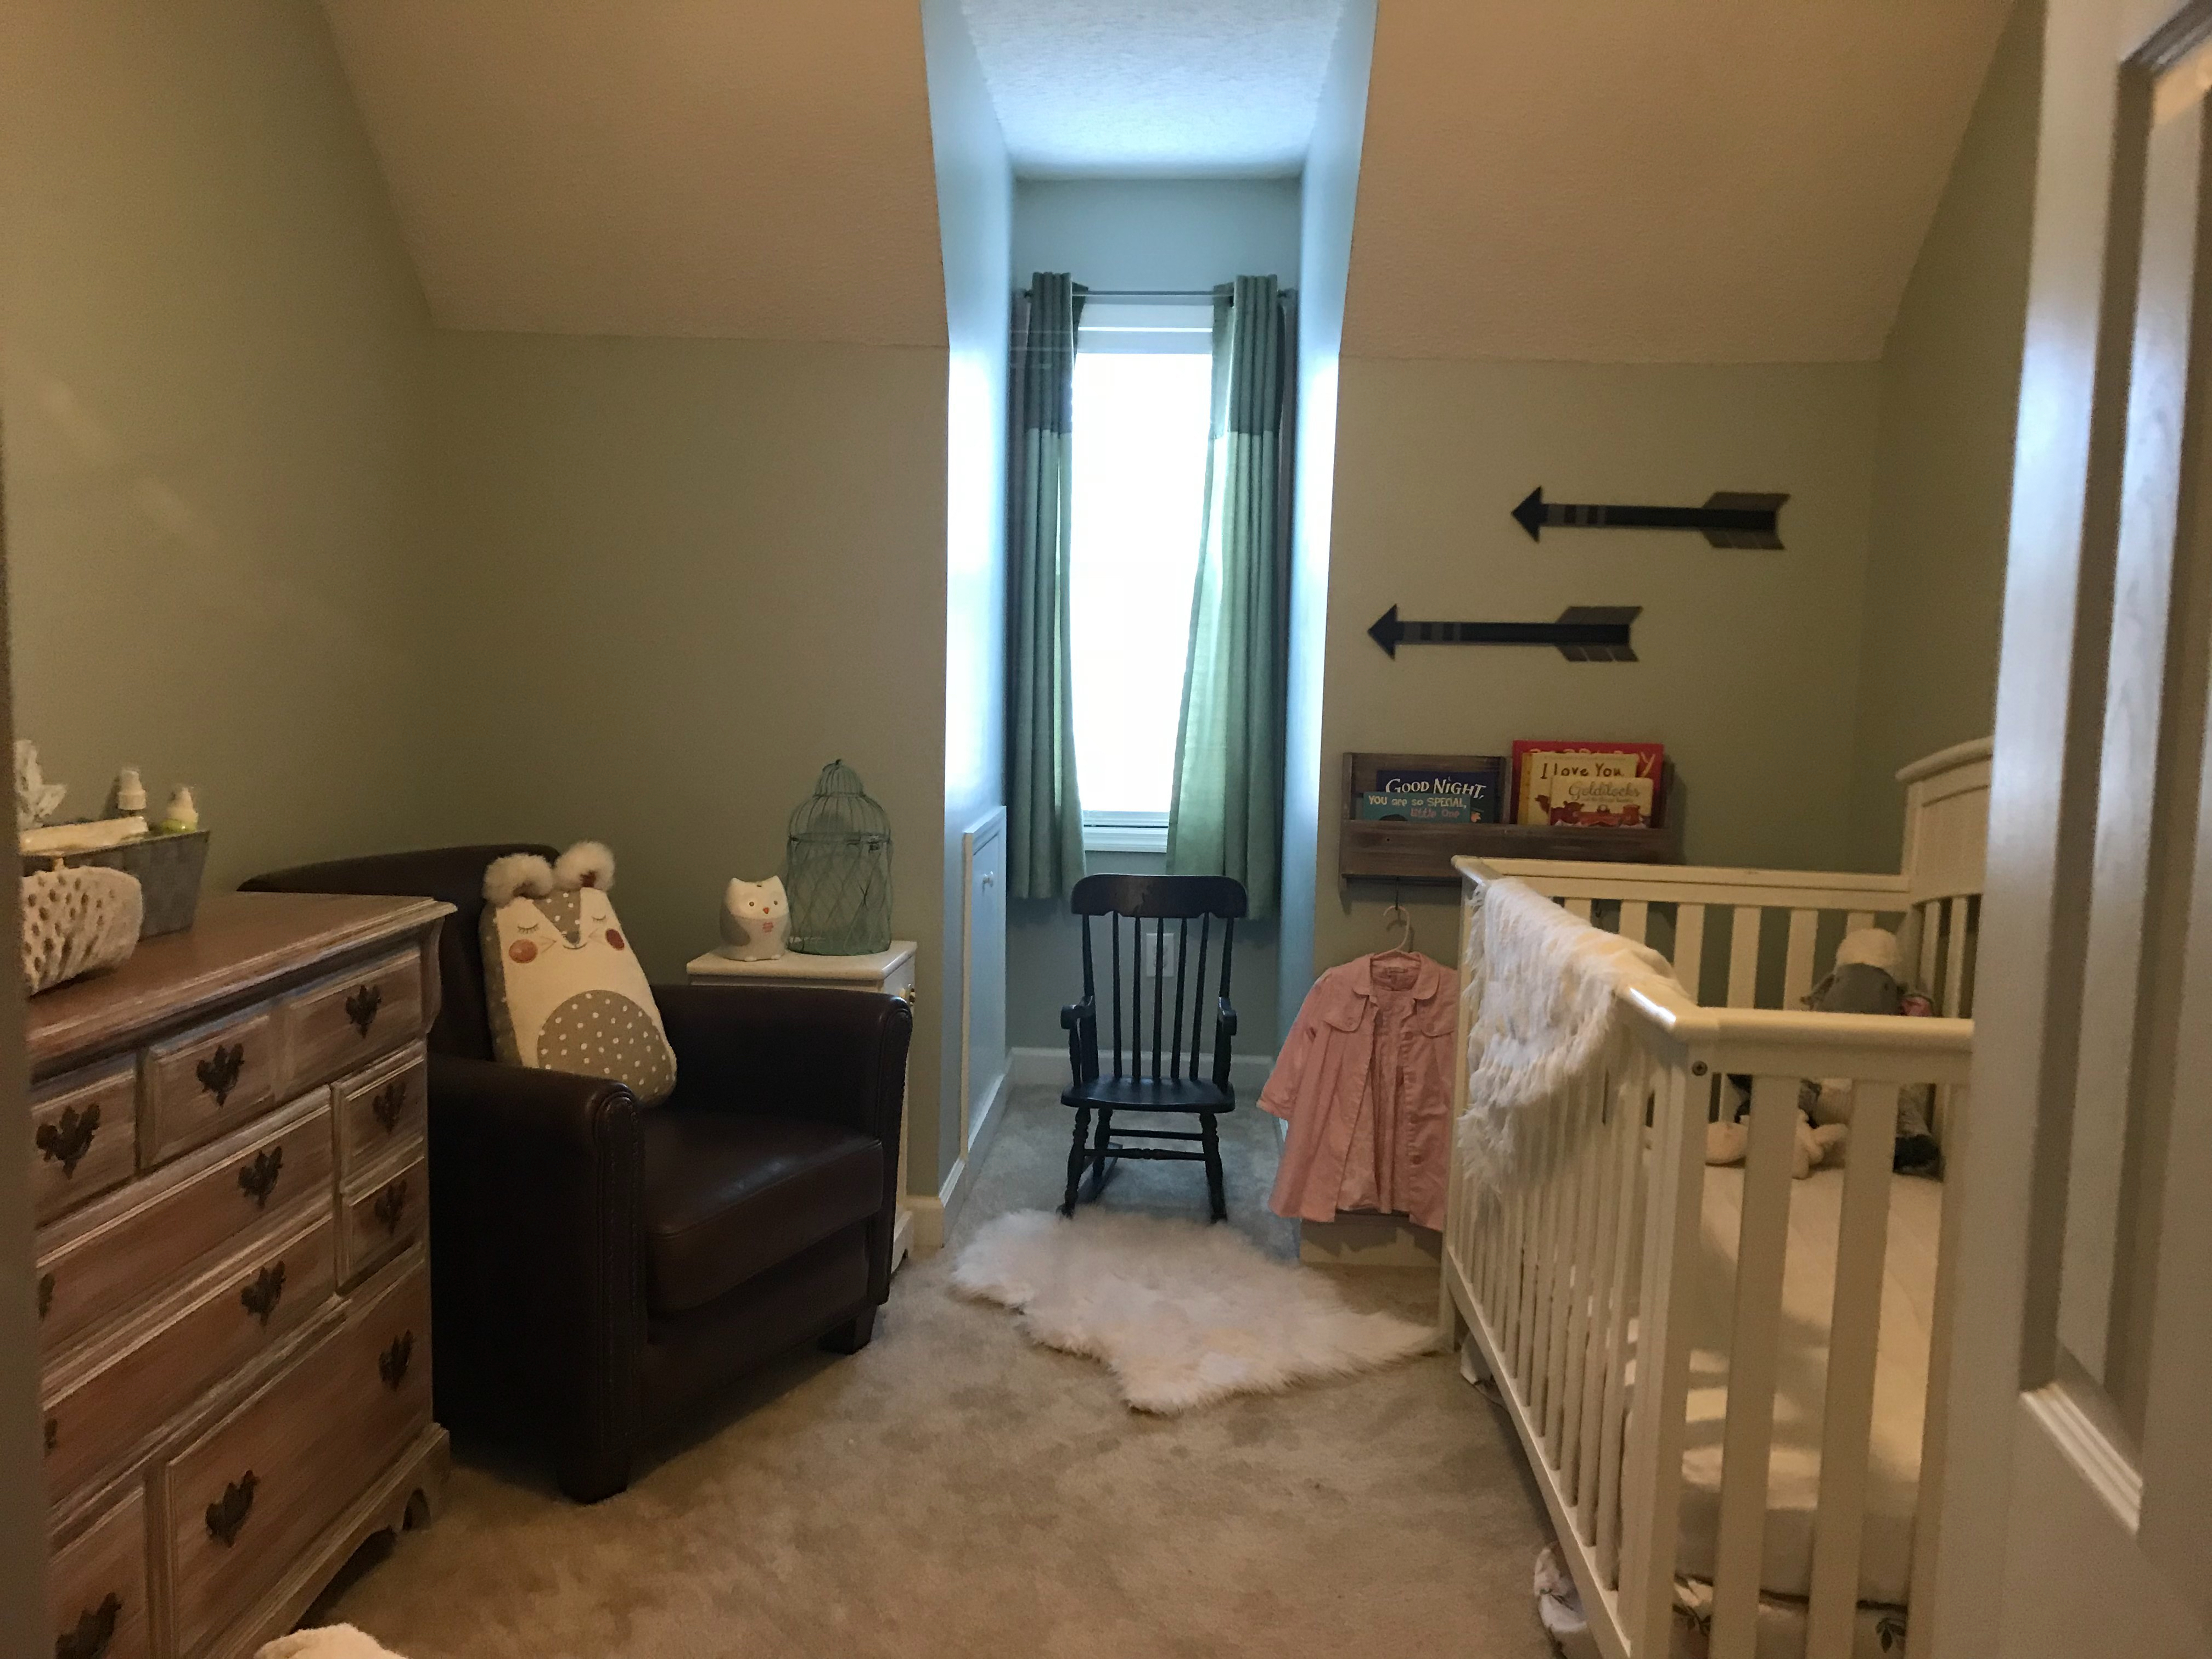
Before the new carpet, our stairs were half carpeted and my mamma’s heart needed the relief of padding on the stairs. Wanting to keep part of the painted wood showing so I settled on a carpet runner. Paying someone to prep the upper stairs for a runner was out of the budget. Since I just had a baby, my dad and husband came to the rescue and helped tare out the carpet. I then sanded, repainted, and caulked during my daughter’s nap-times and the new carpet runner was installed on the stairs.
Another quirky area was a former ventless fireplace nook in our living room. Having a fireplace would be lovely but with young children, we didn’t want to worry, nor have to get a propane tank. When our daughter started accumulating toys, I realized it was time to put that space to good use and install some shelves. It was so fun to work with a local fireman who’s hobby was custom woodwork with old barn wood. He took an idea for a design and made it happen. GIFTED! They fit perfectly and the baskets offer a “hiding” place for most of the kid toys. The basket system has also provided a simple way to rotate toys and cleaning up is super easy for even an 18-month-old. Trying to install good habits now so that I’m not dealing with tantrums of a three-year-old.
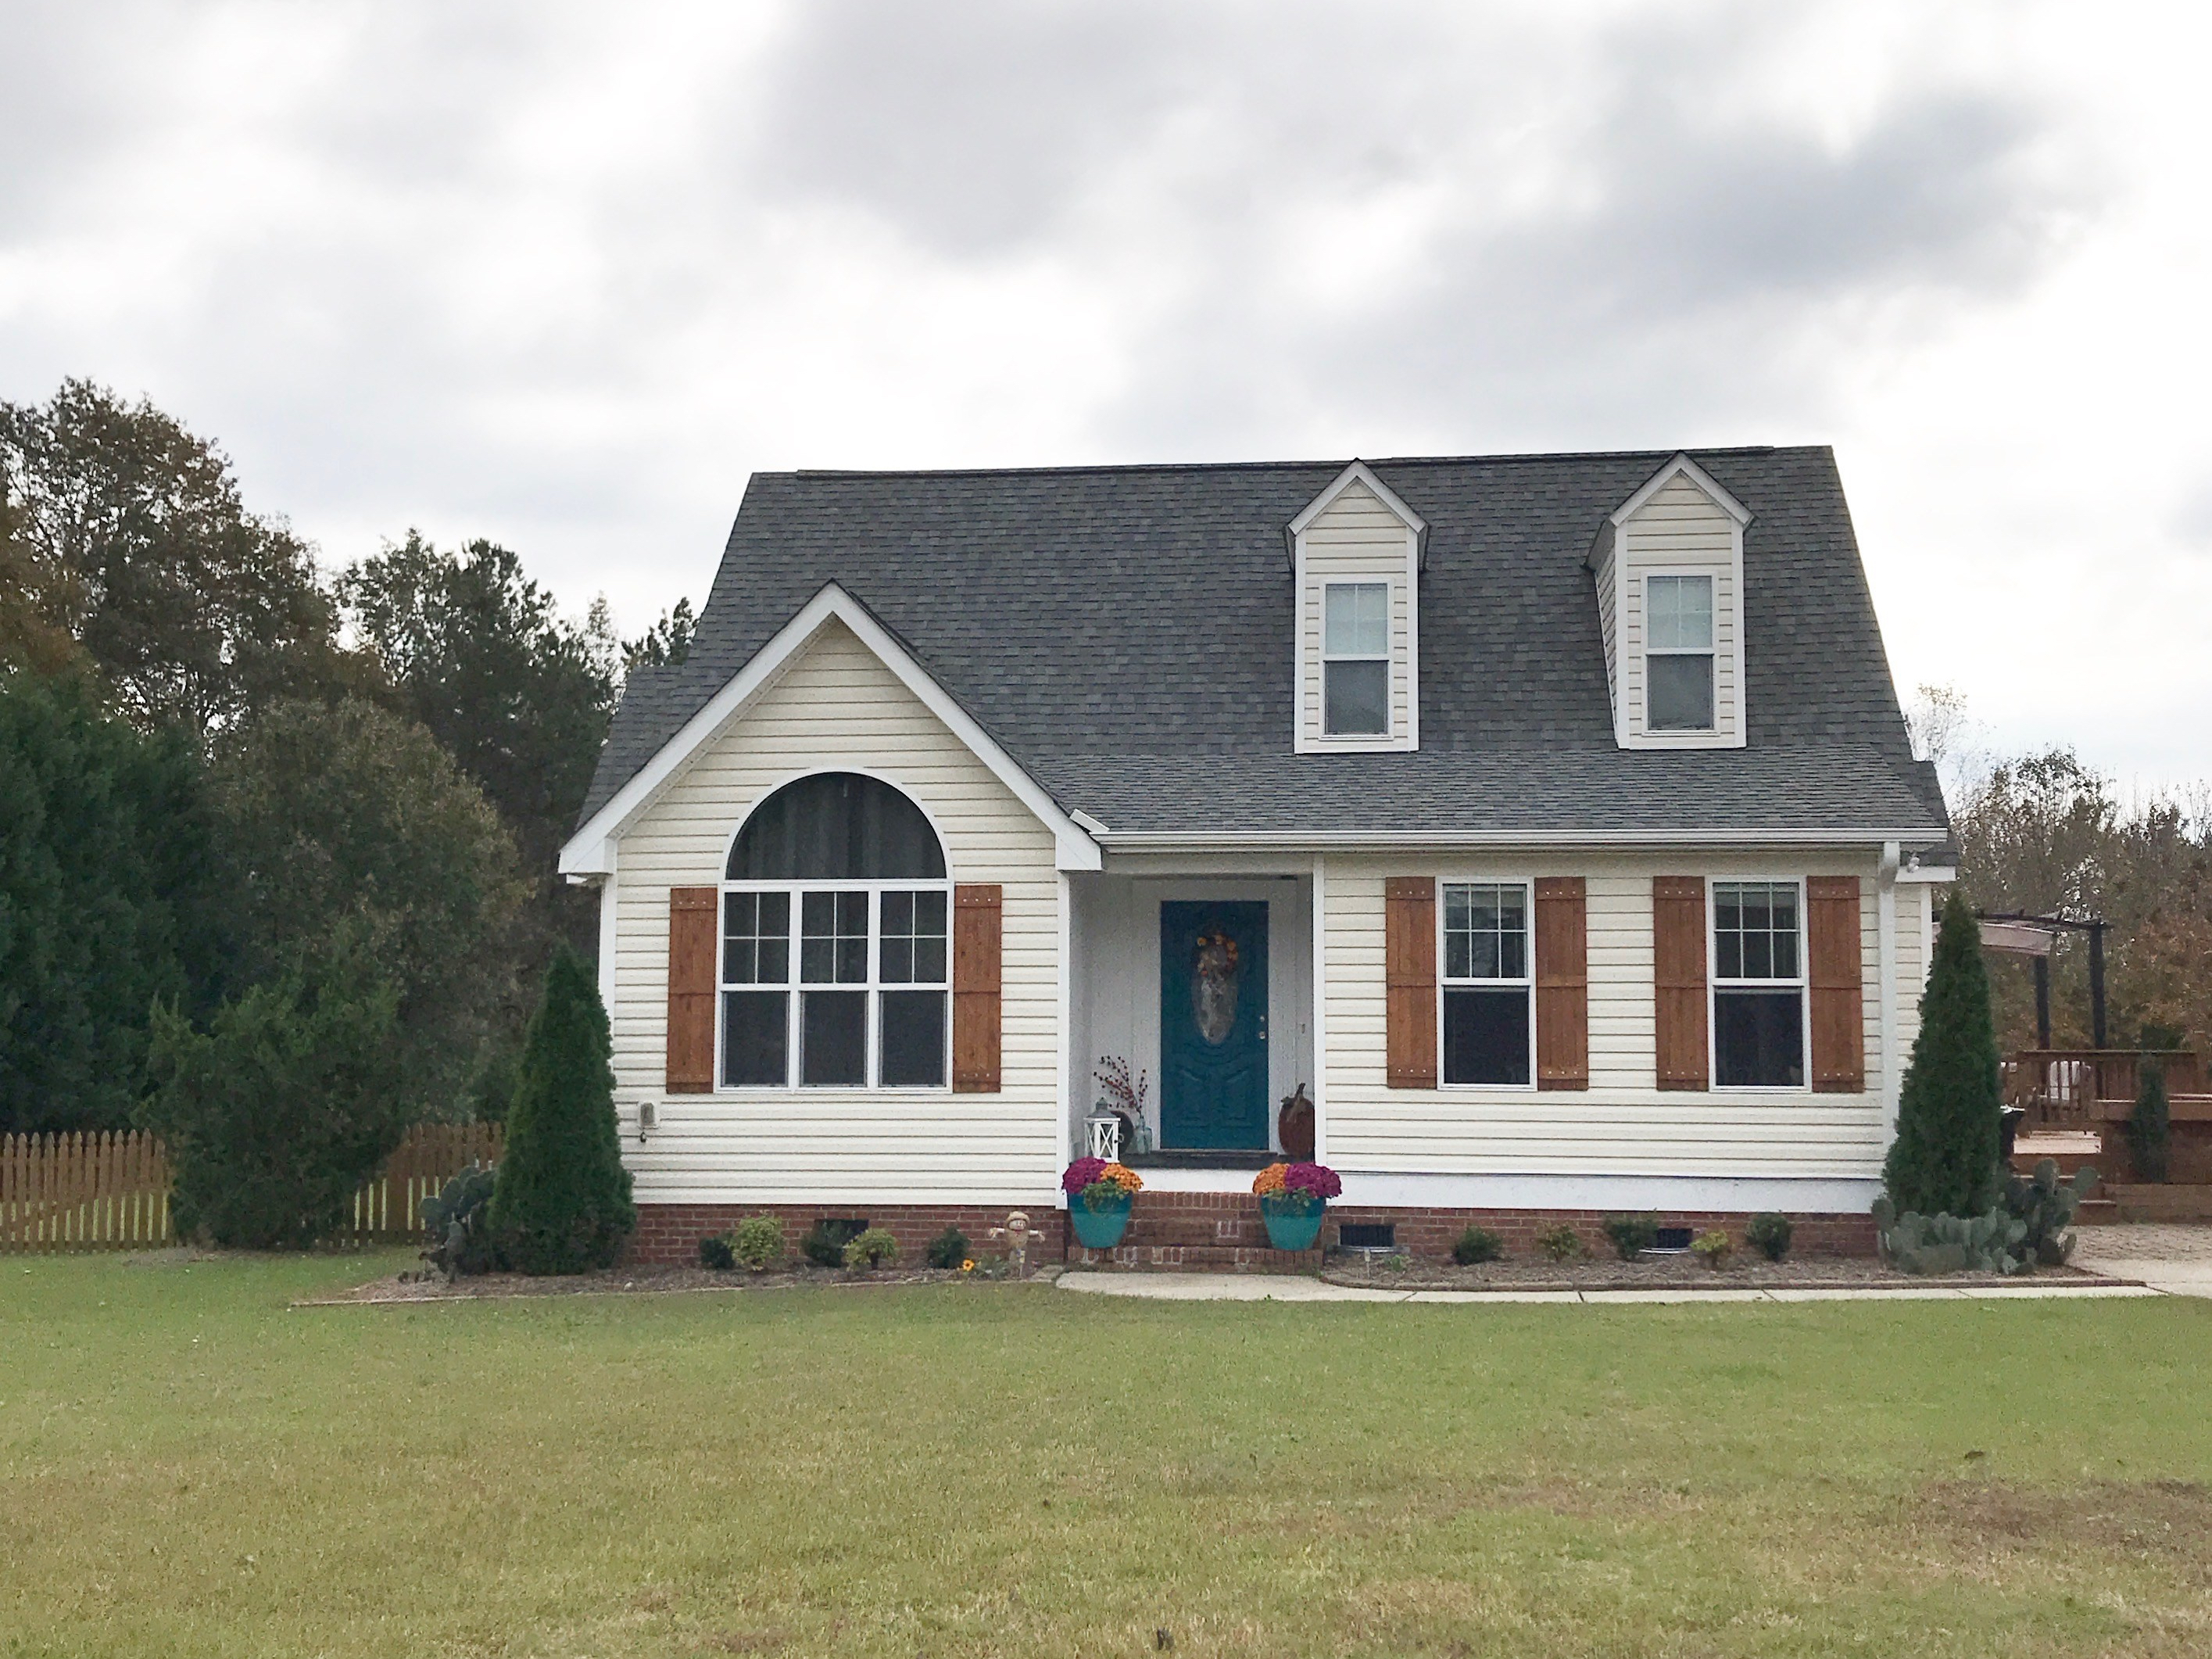
The vinyl exterior of the house was destroyed by the microburst. Our lot is on the corner and we don’t have many large trees, so we were hit pretty hard. Though we already had a fairly new roof after the storm we had to get another and all new gutters. All the windows on the front of the house were cracked or busted around the edges. The vinyl siding was completely destroyed on the right side and front of the house. We were so thankful to work with an amazing contractor and window/siding company that installed the windows just a couple months after the storm. Wanting to stick with the traditional style of a cape cod but also wanting more natural light to come through, I opted for no pains on the bottoms of the windows. I’m pleased with how the windows turned out and feel like it the style brings more warmth to the exterior of our home.
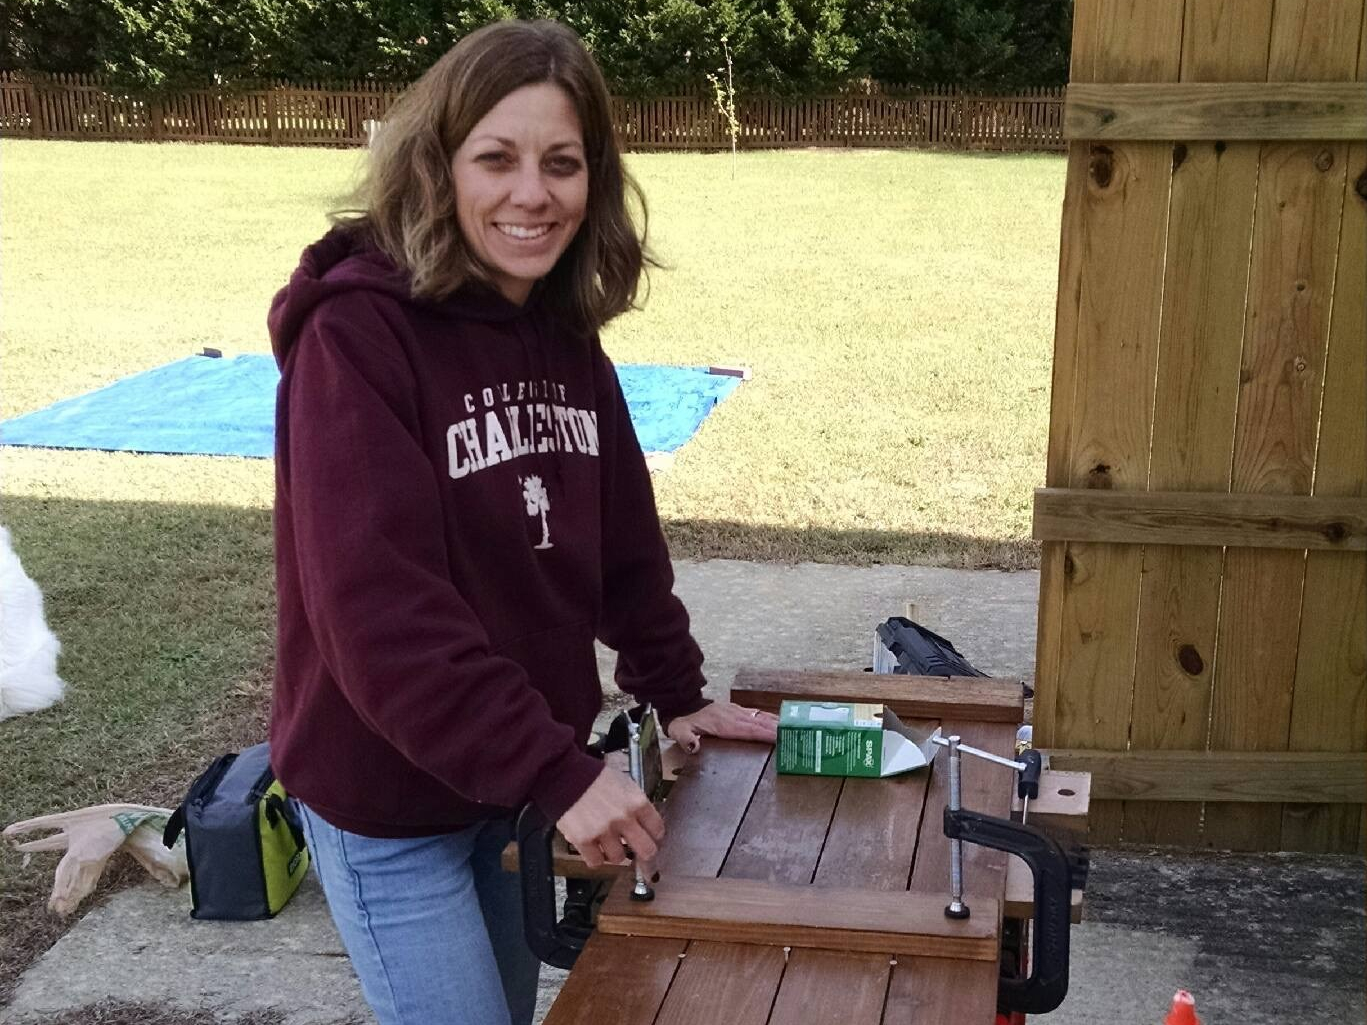
When it came to replacing the shutters, I got a little caught up on Pintrest and decided to build my own for a 1/3 the cost of replacing the vinyl shutters. And the vinyl ones were salvageable, so I sold them on the Marketplace. My dad and husband yet again came to do all the sawing, heavy lifting and screwing, but we absolutely love how they turned out. And my dad and Tom even barred with my absent mindedness when I made four shutters…we needed SIX…opps. So we went back for round two of cutting, staining, and assembling.
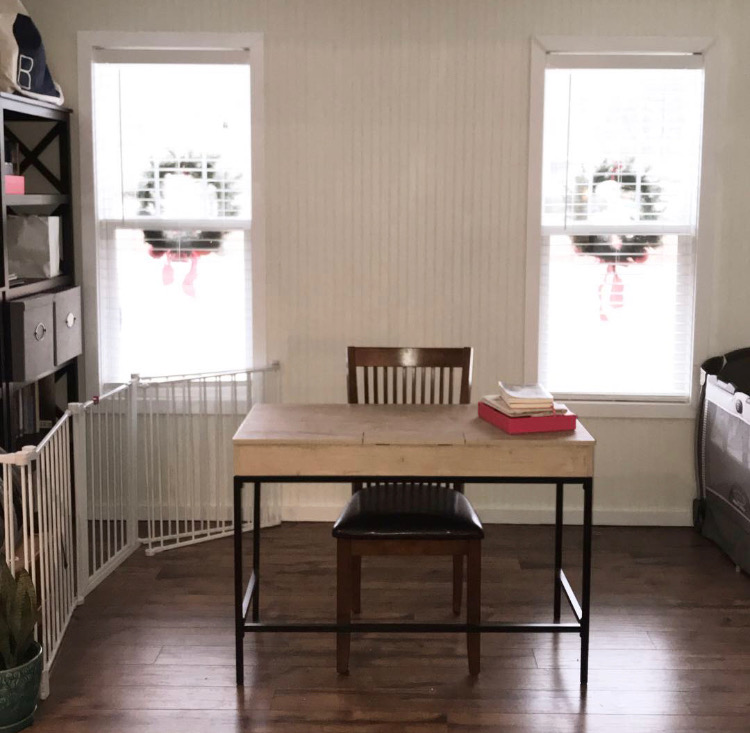
My most recent project came just a few days ago. We have a lovely office addition which was the main reason we bought this home. The office would allow us to have space for Tom to study and a guest room. Now that Tom spends most of his time in the hospital on rotation, for Christmas, I asked him if I could take over the downstairs office space for my business and he could study upstairs. I have been wanting to paint the beadboard walls white ever since we moved in, but it wasn’t a necessary remodel. Now that I am caring for two babies all day and working from home, I needed to brighten the space for a mood lifter. It’s so refreshing to start the 2019 New Year with a remodeled office for less than $25!
What are your favorite ways to repurpose a space or redecorate on a medical student budget? Comment below with your wishlist or projects you are working on in 2019.
